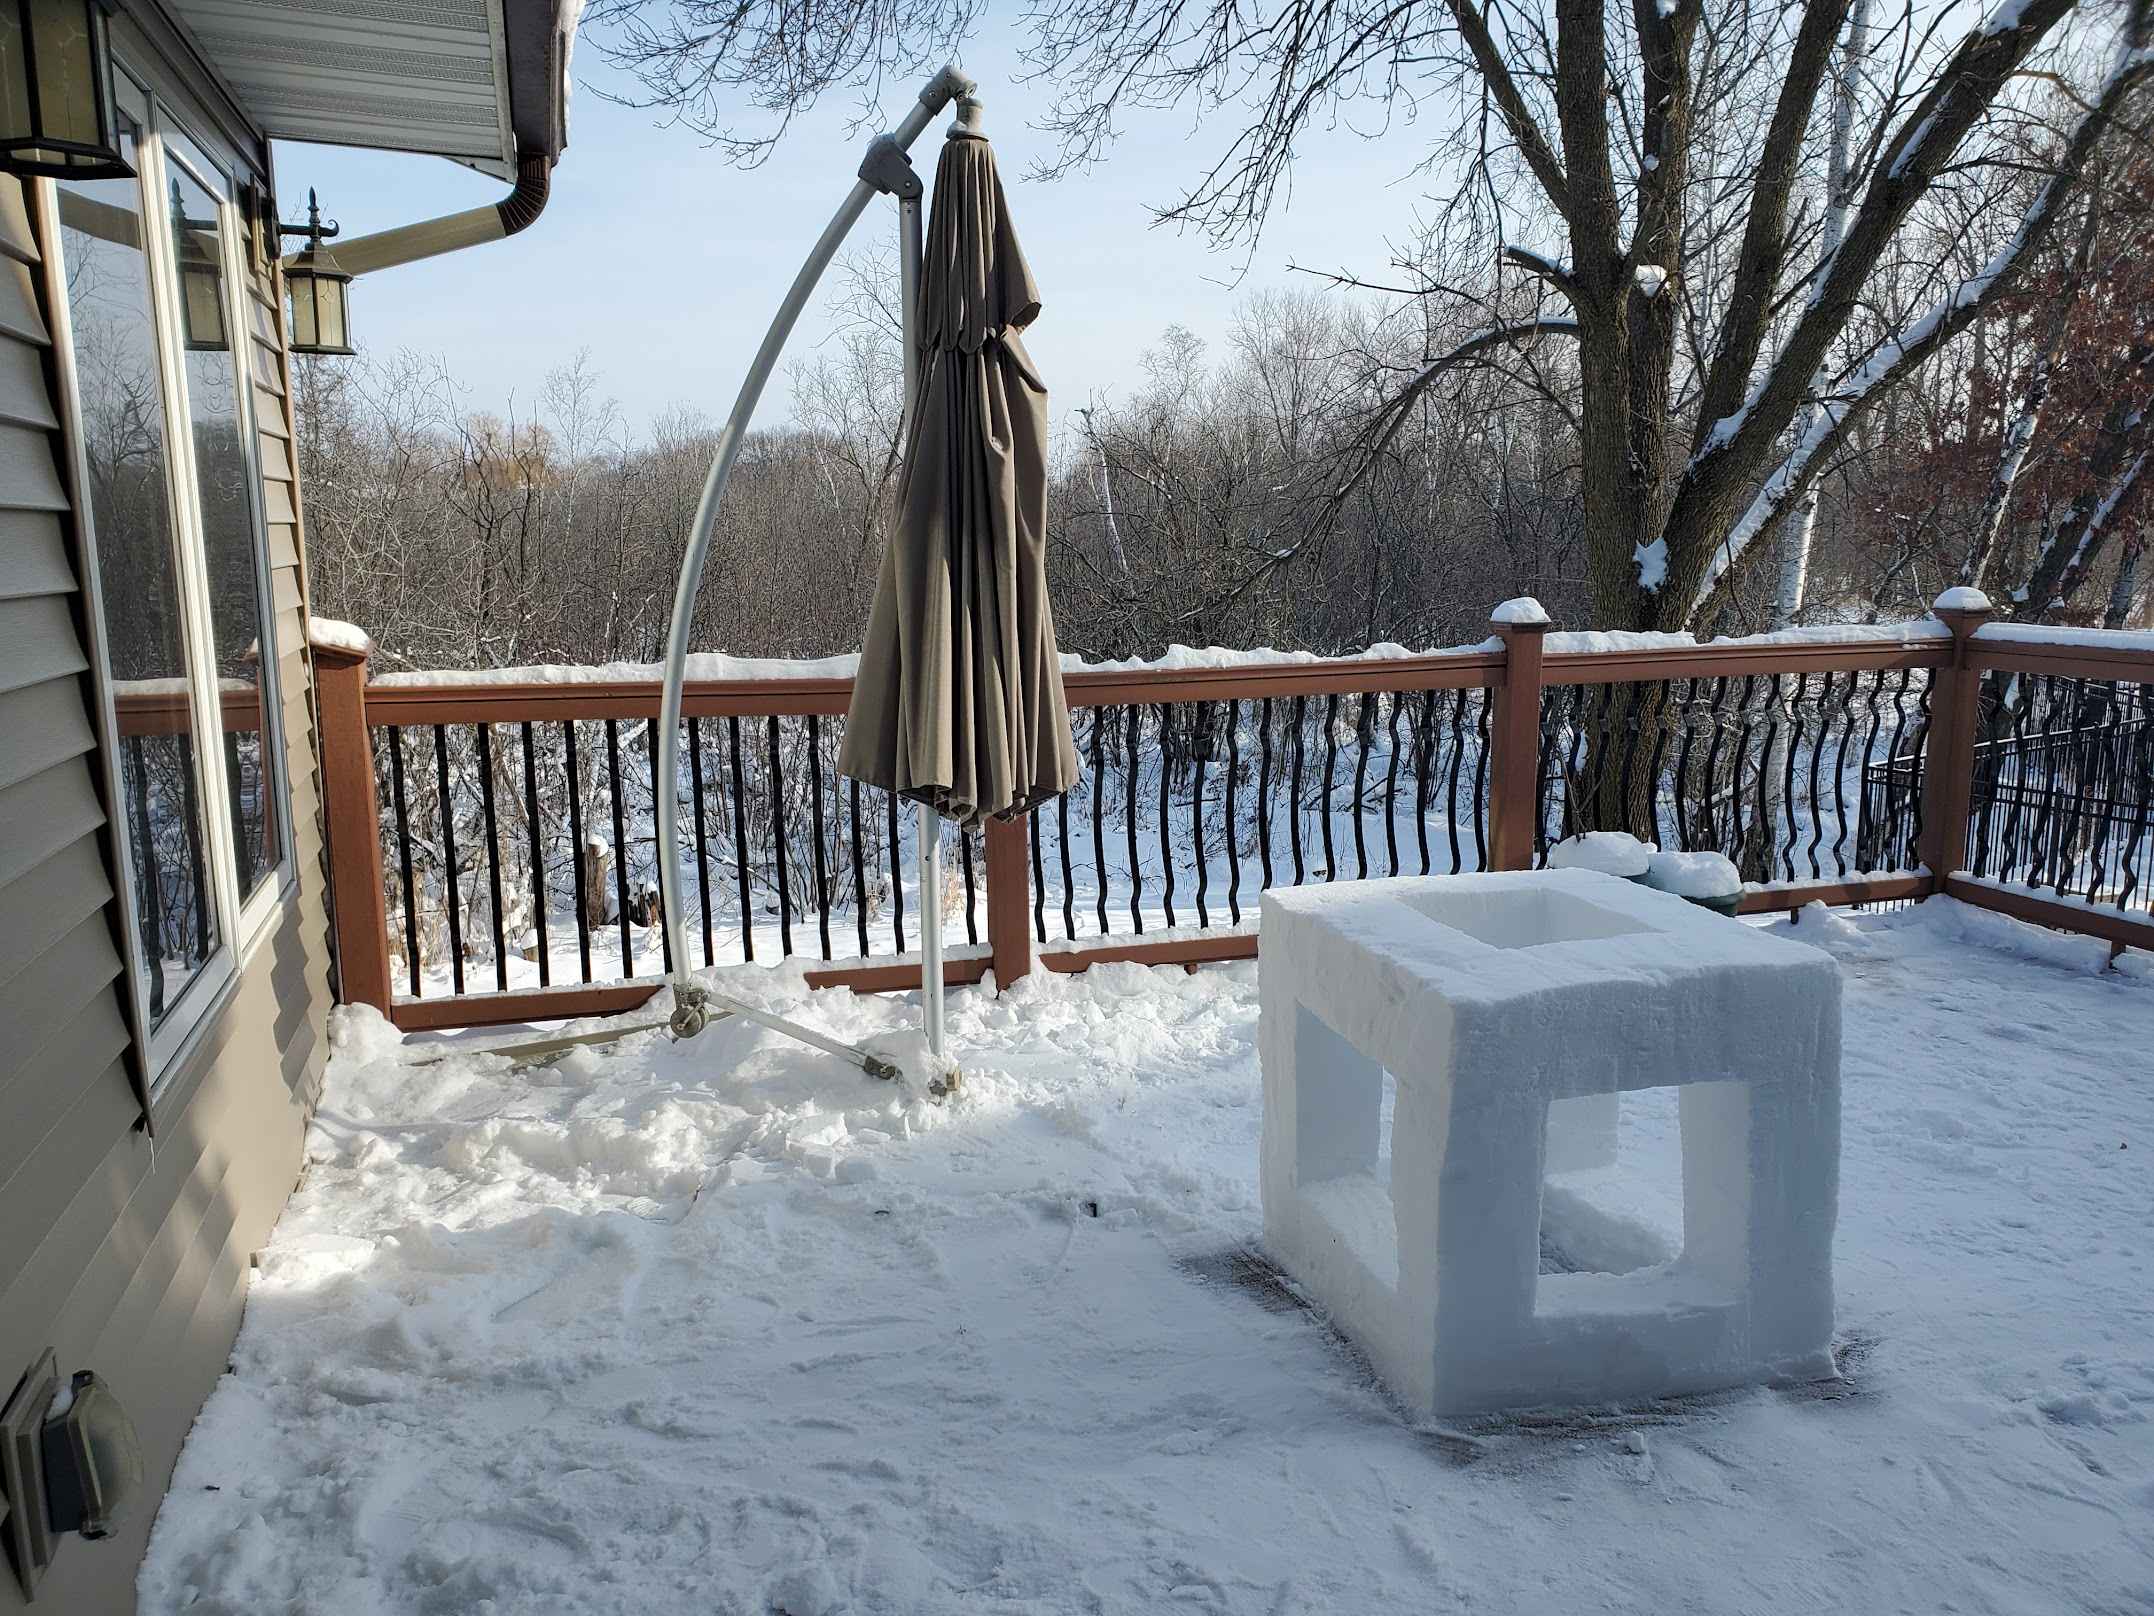
This sculpture actually took a few intermediate forms before reaching its final state. My first goal was actually to create an igloo. I brought out a sturdy cardboard box and tried to pack snow into the form of bricks, but the wno was far too powdery. Unlike last April when I was making my snow dinosaur, it was quite cold out, and the same construction techniques would not work this time around.
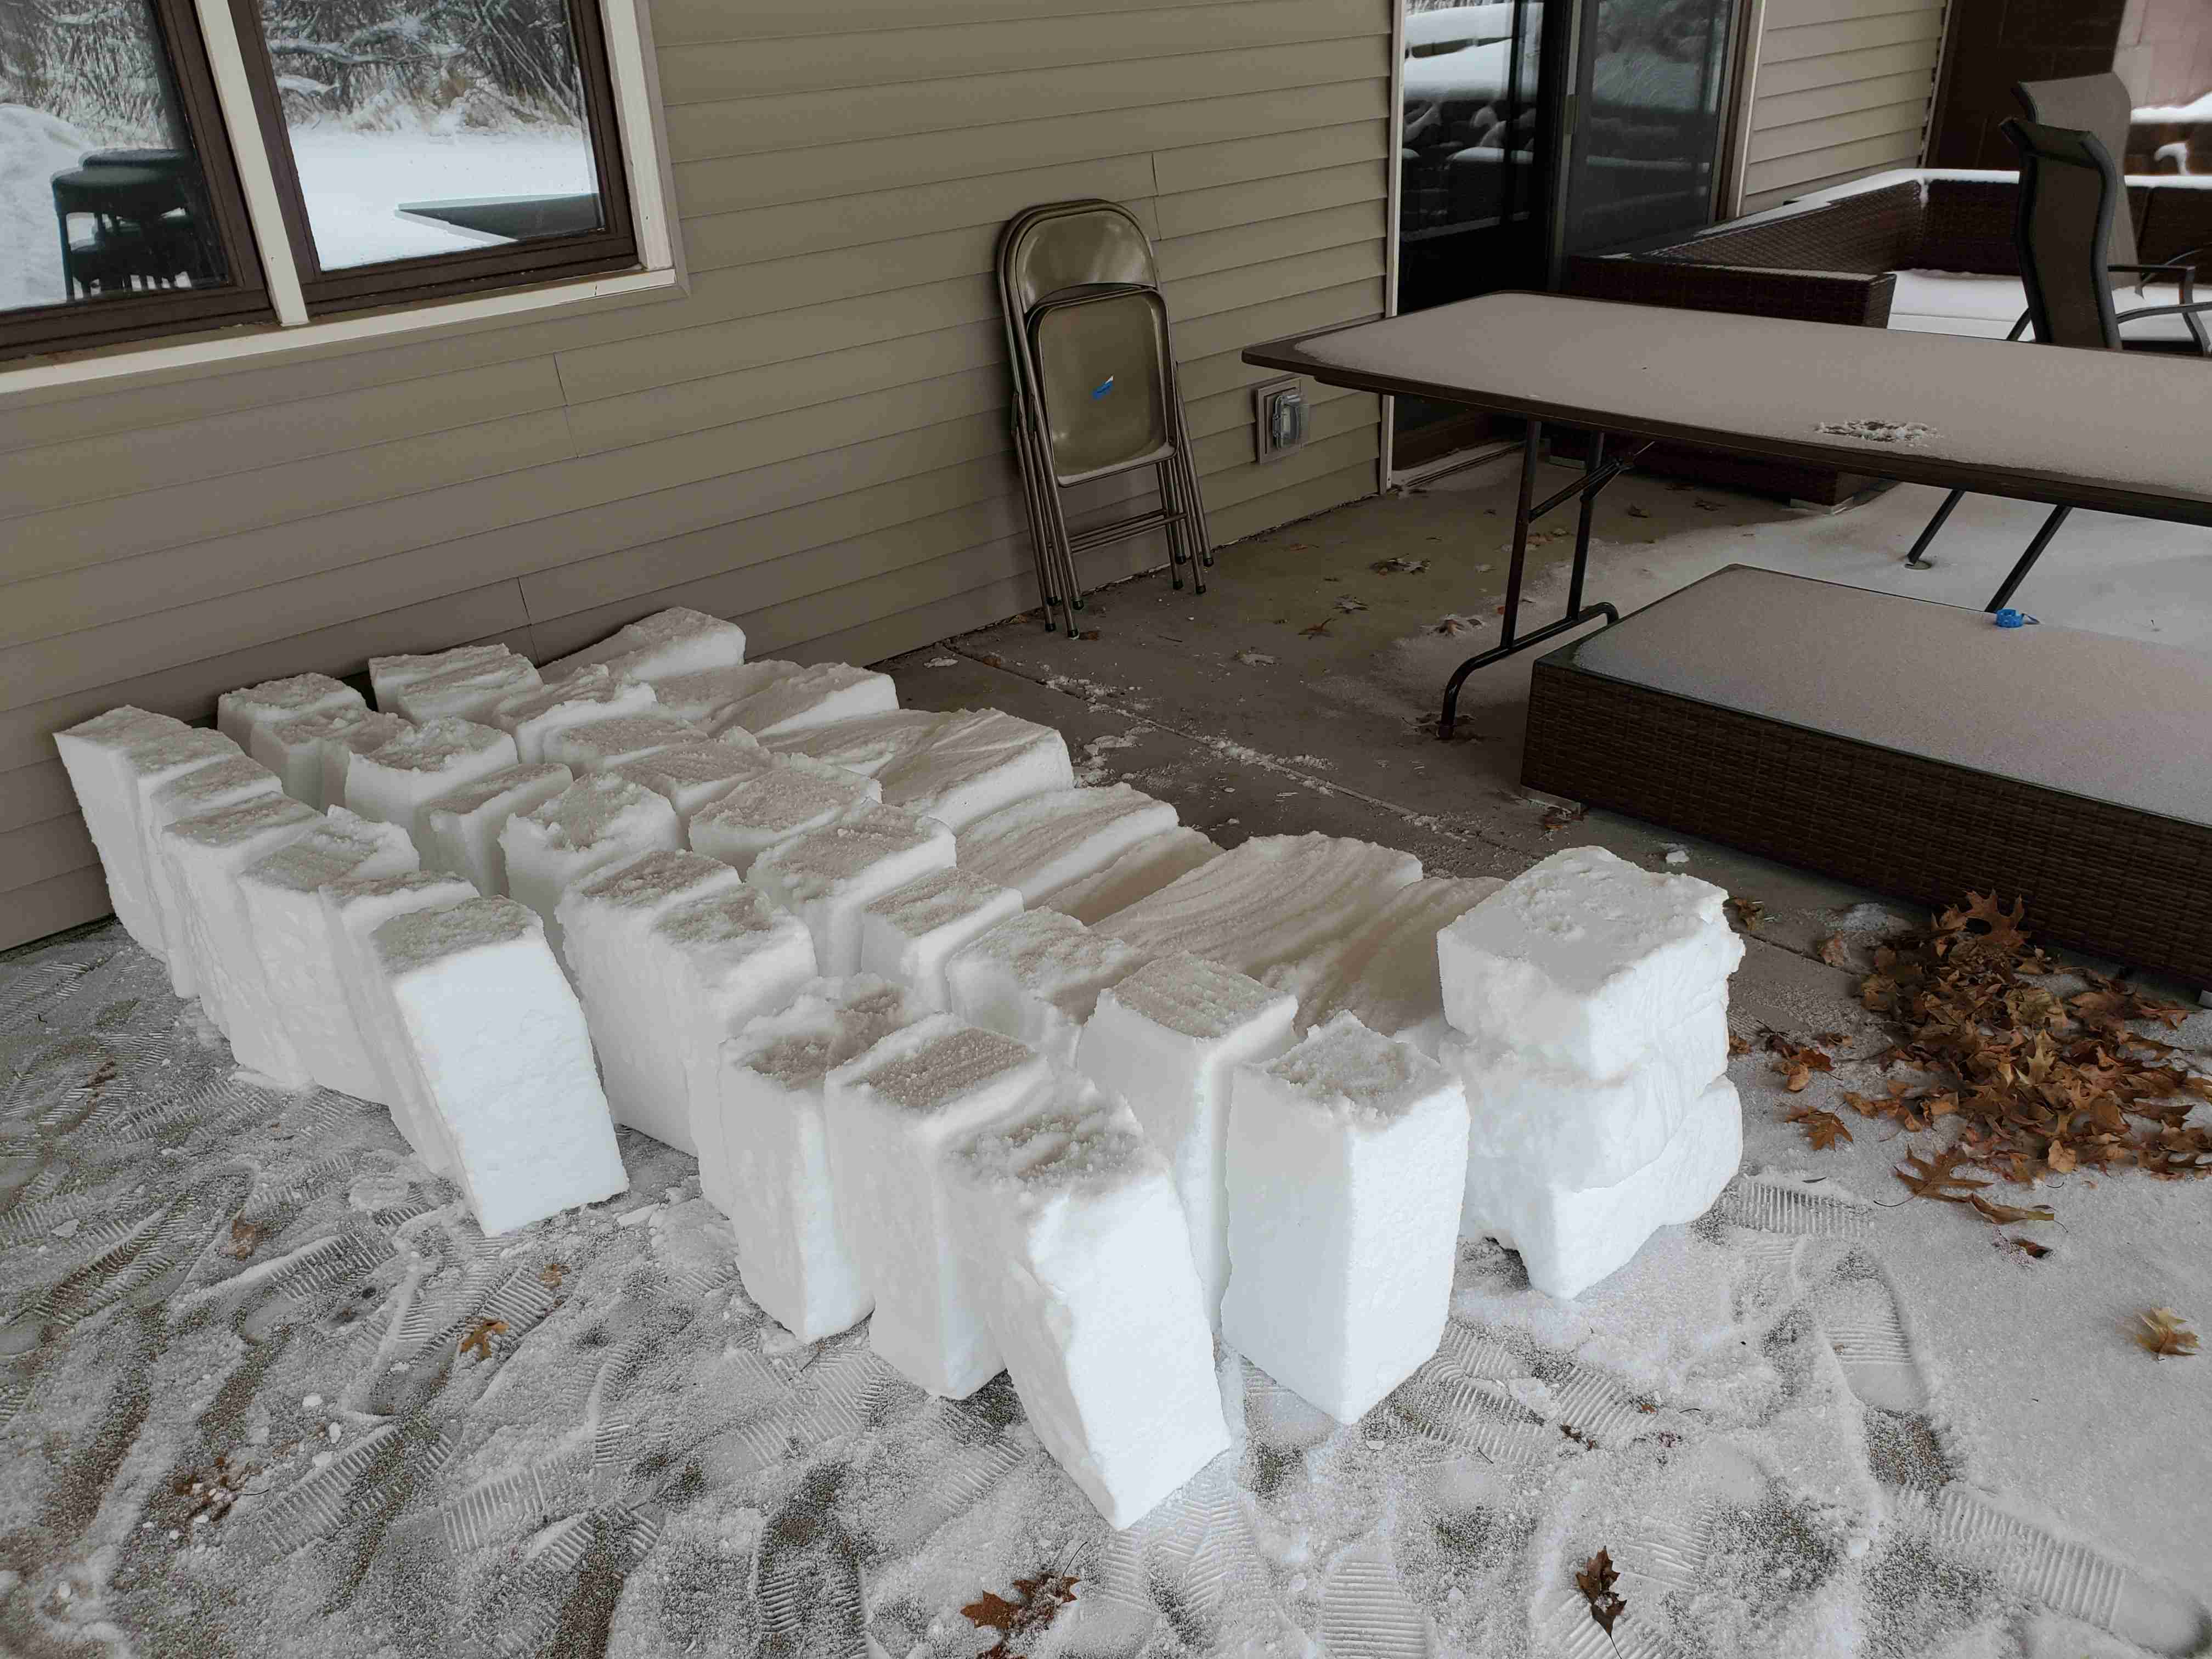
I spent some time researching how people have traditionally made igloo bricks in cold conditions, and it seemed like the correct approach was to carve bricks from deep within snow drifts, where the snow would have had time to compress and recrystallize. We hadn’t had enough total snow yet to accumulate large snow drifts, but I could certainly create one.
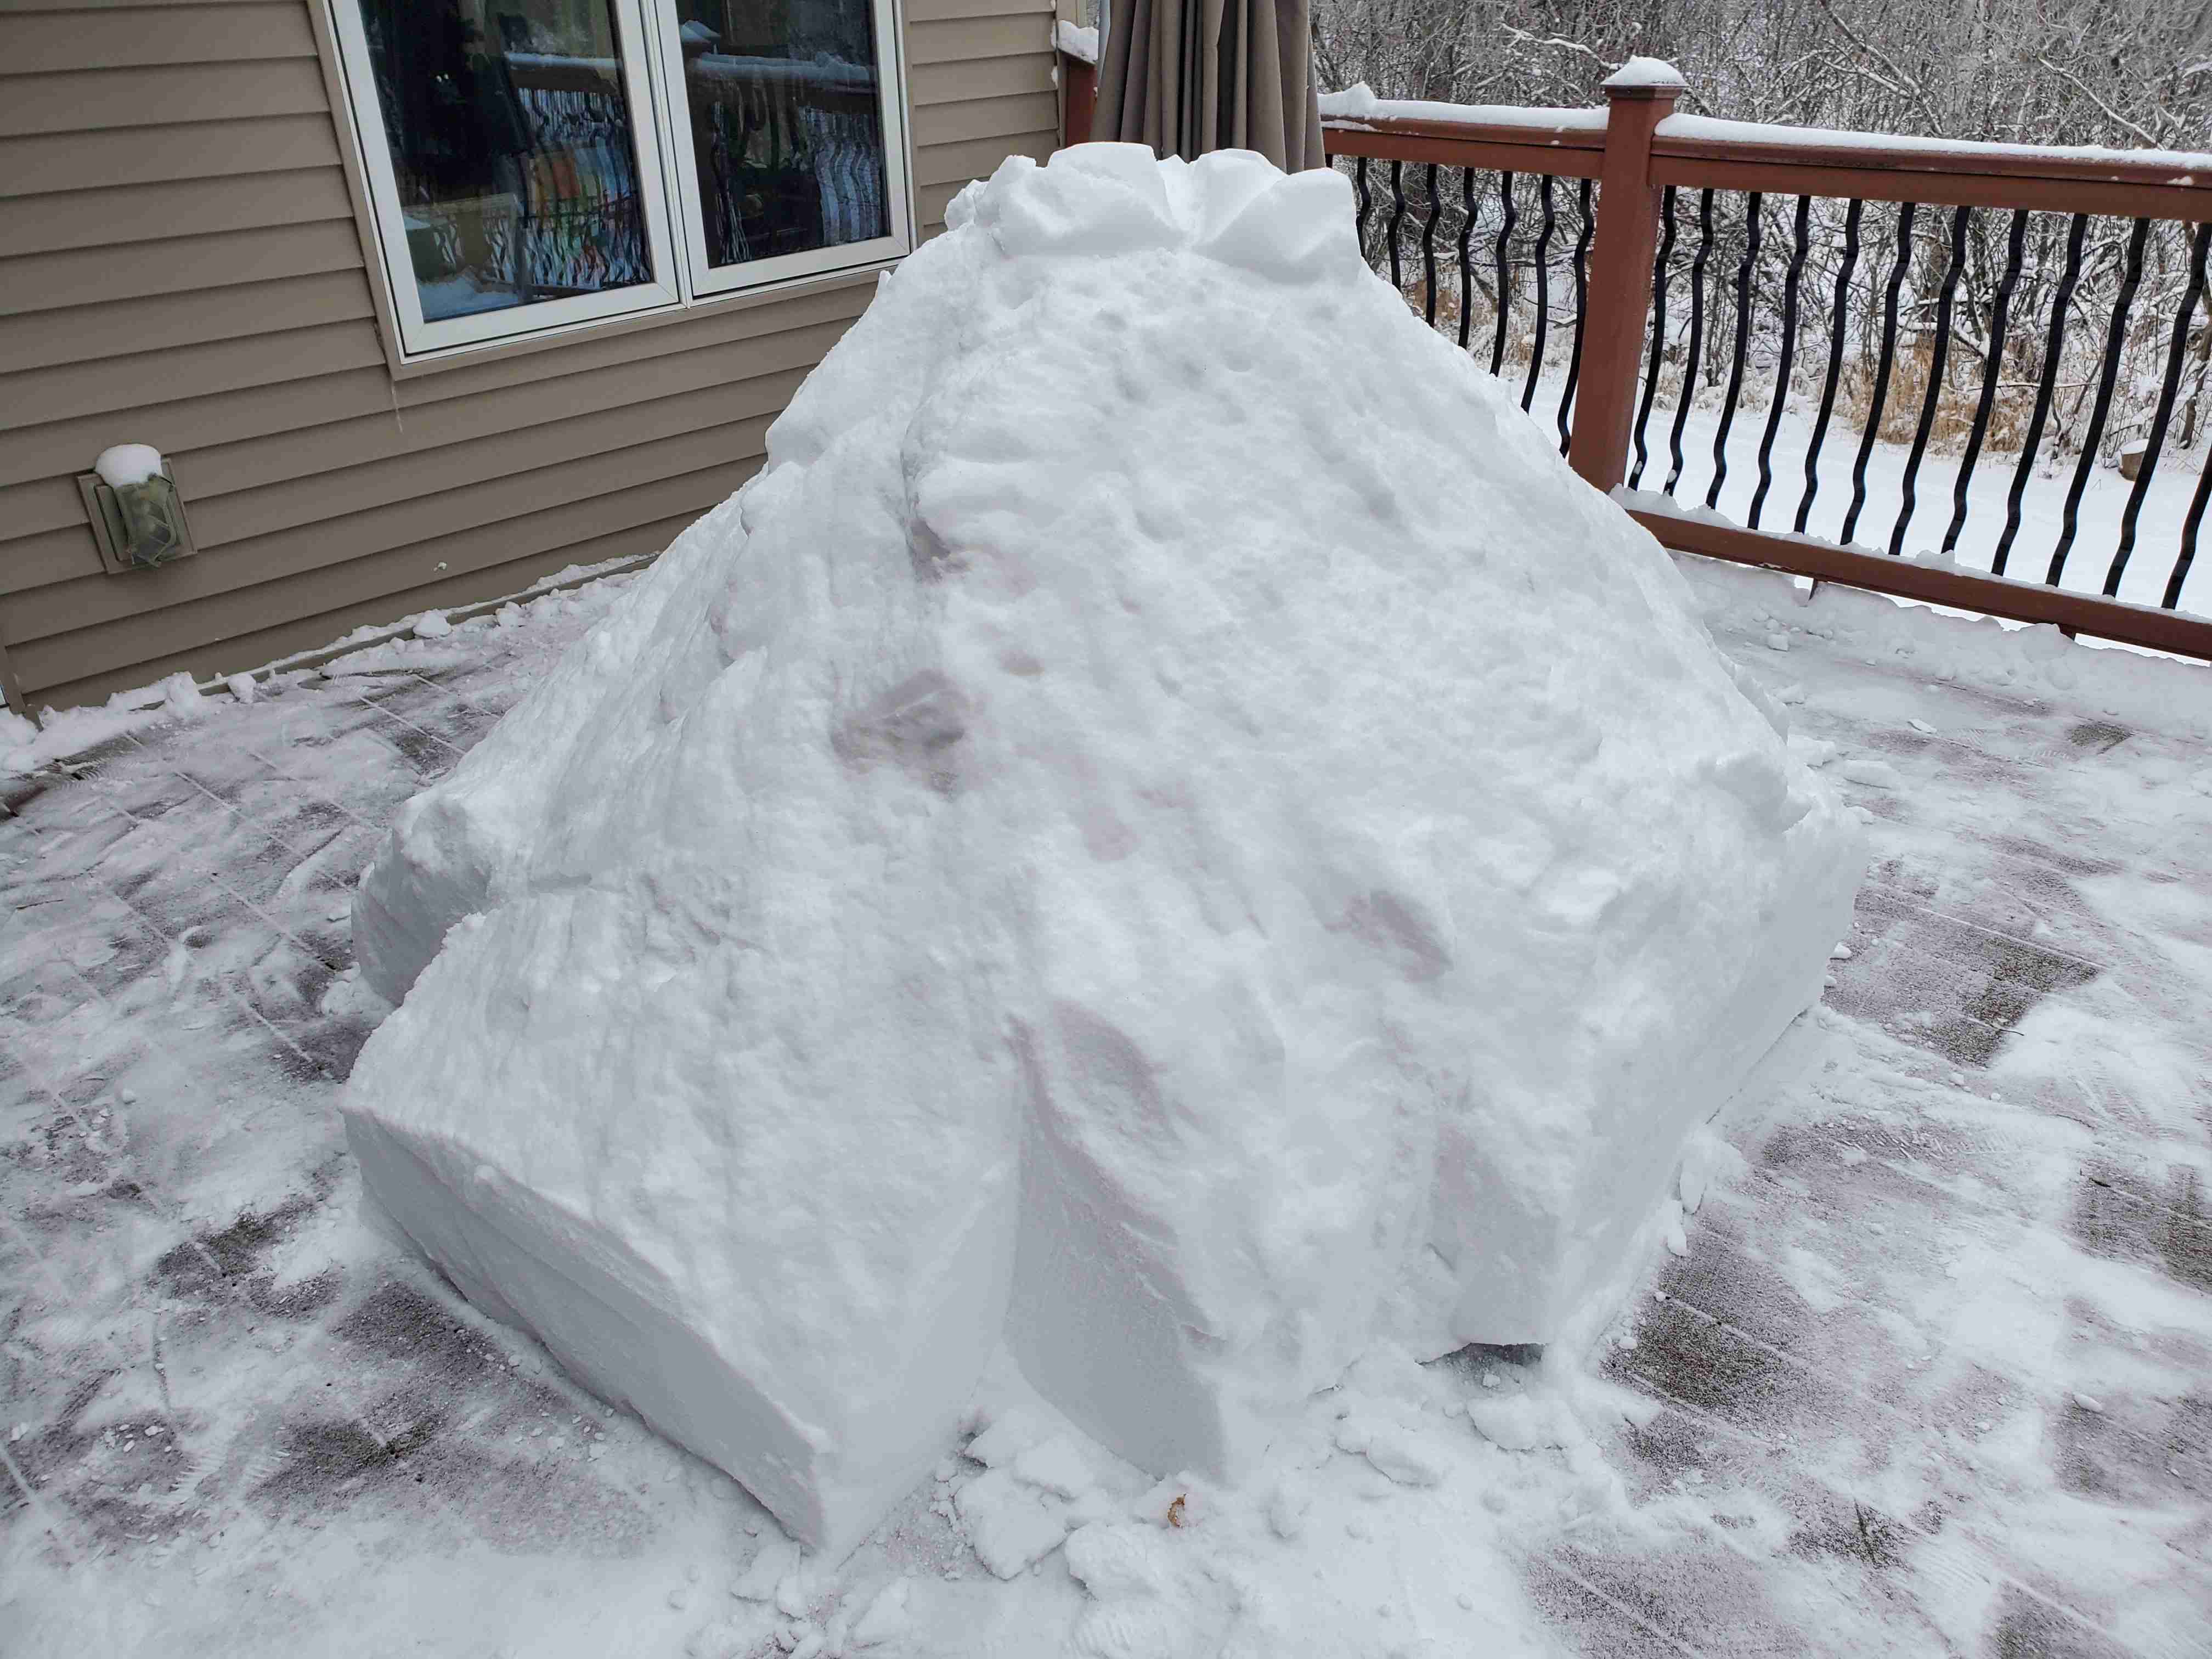
I piled all of the snow on our deck several feet high, then gave it a few days to compress before starting to carve it into terraces, prior to splitting each layer into bricks (~12"x12"x18"). As I was making the terraces, I realized, I kinda liked the stepped pyramid thing going on, so I decided to smooth and polish it off before demolishing it into many dozens of bricks.
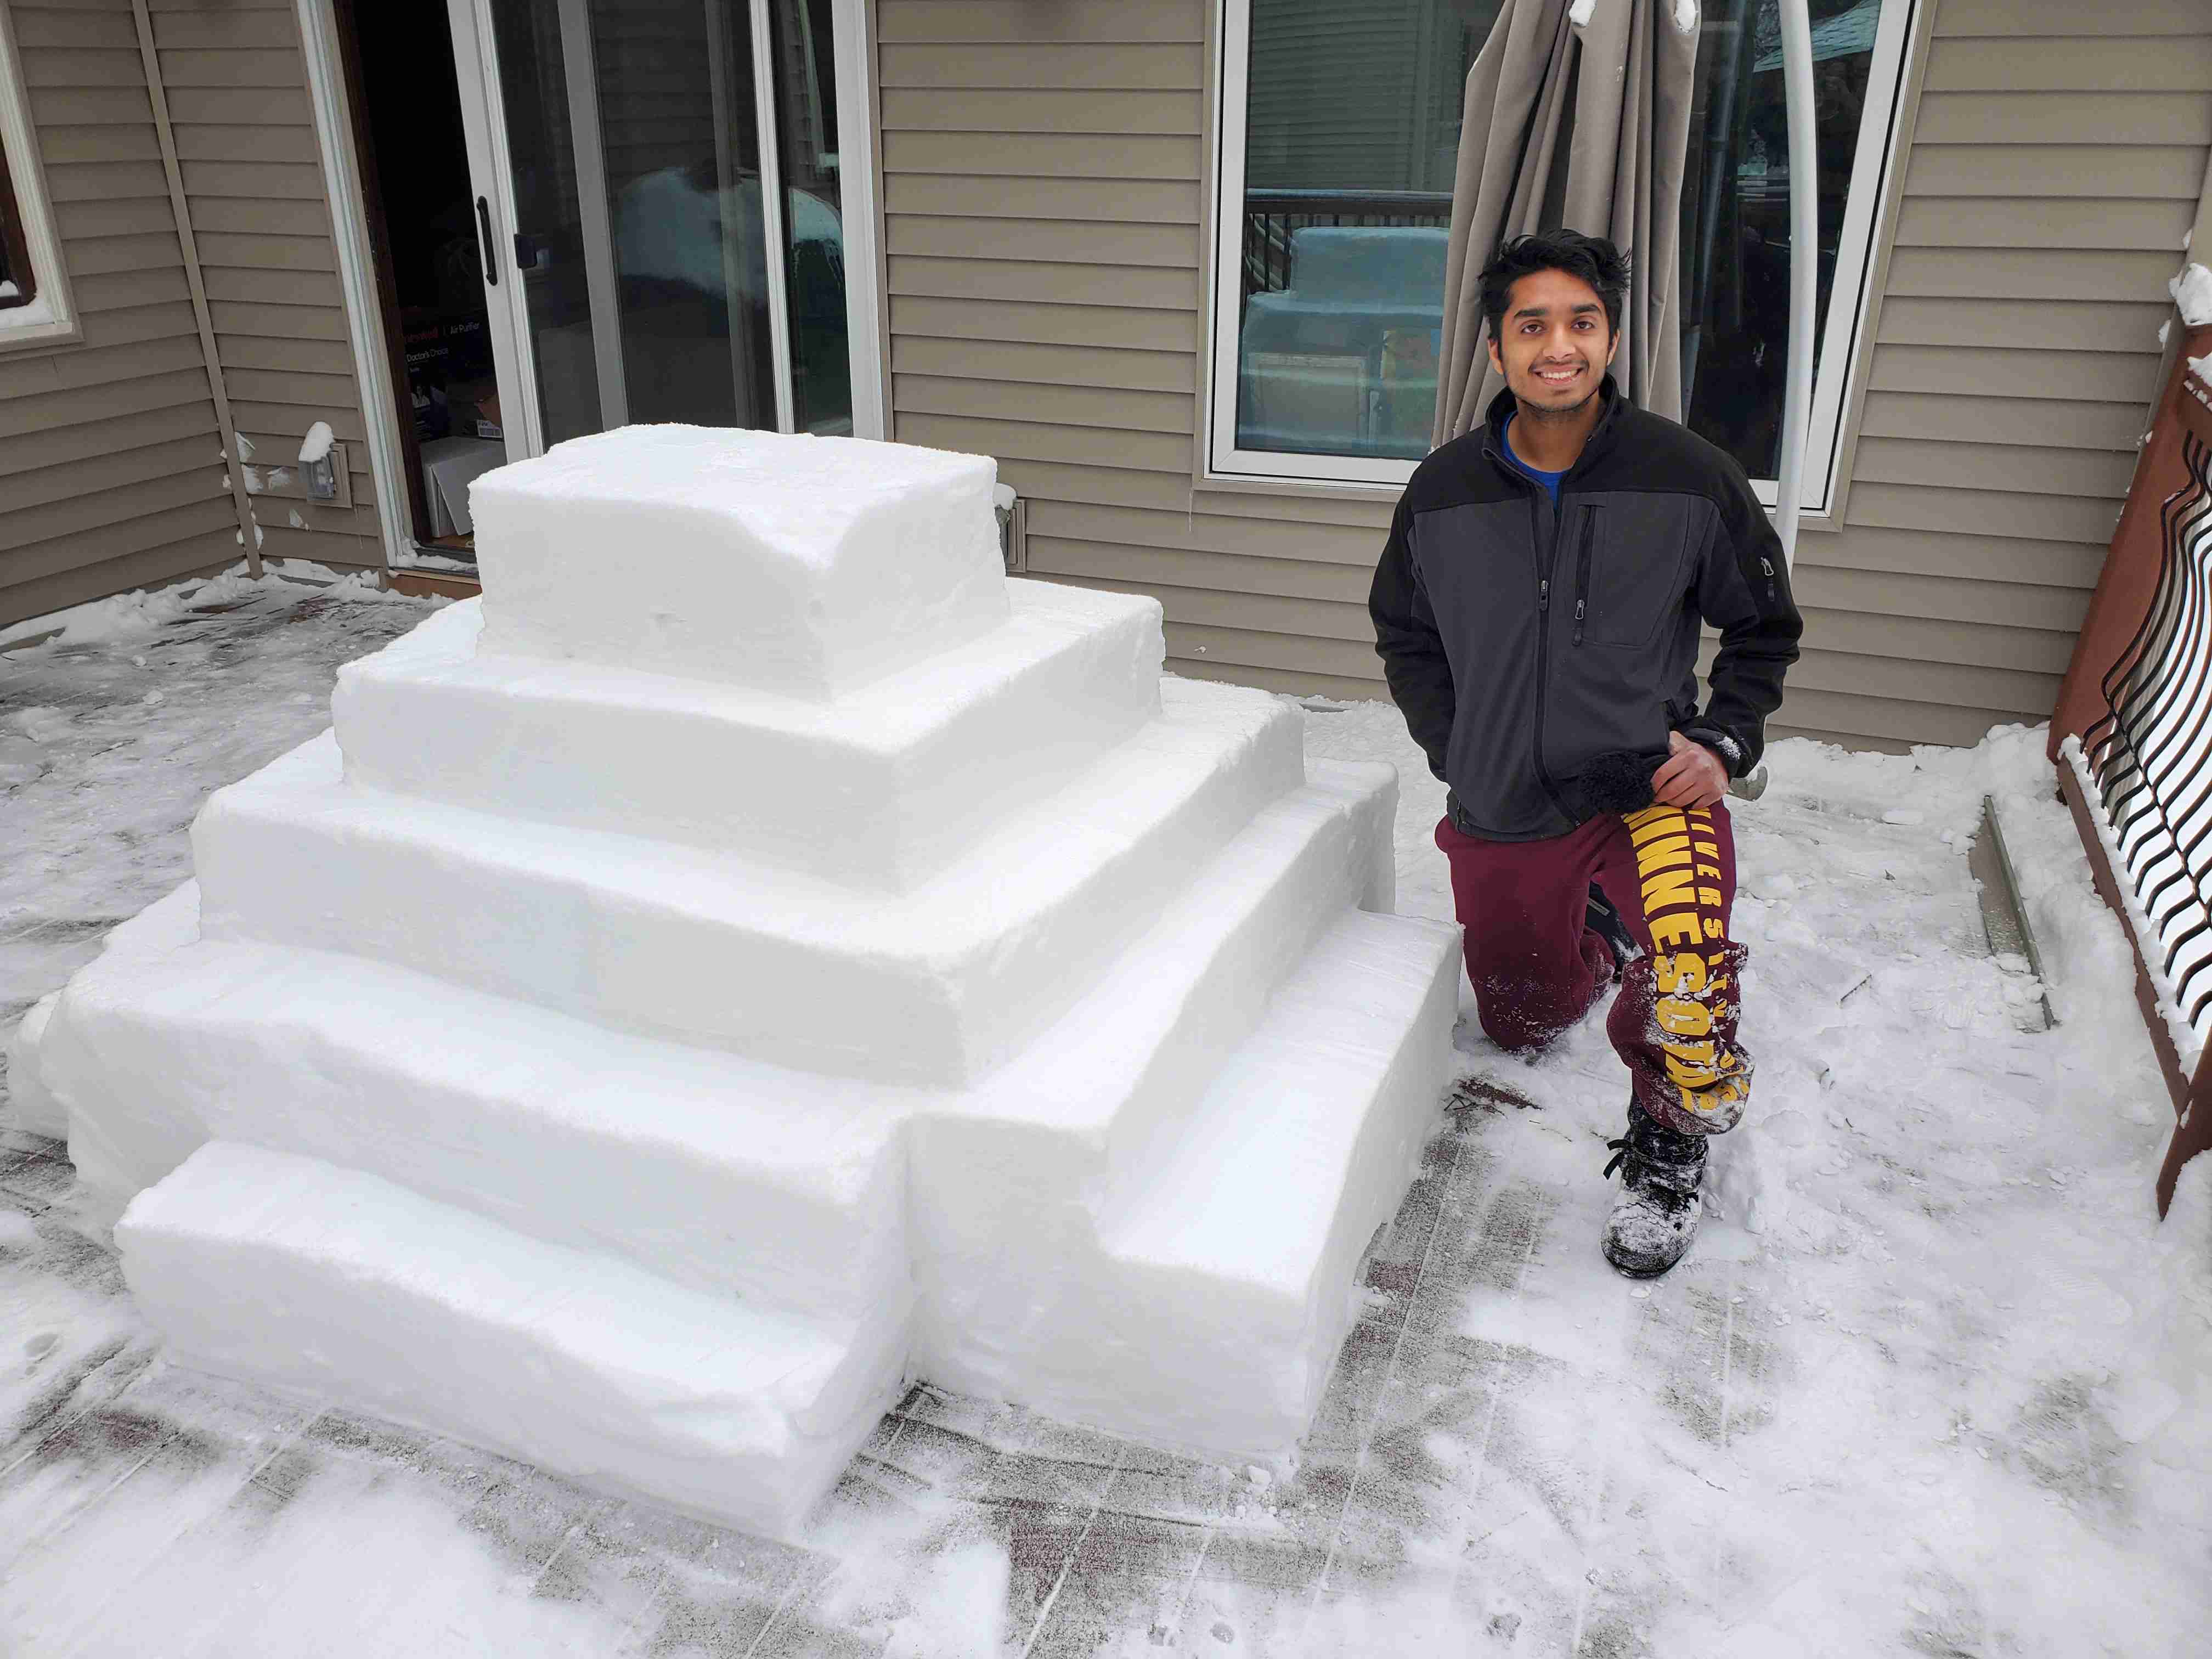
As I started to harvest bricks, I realized if I was strategic with how I removed them, I could stop at an intermediate point of a cube. Once again, upon reaching this, I smoothed and polished everything. Meanwhile, I stored my bricks under the deck to hopefully keep them neat and safe from further snowfall. The bricks were surprisingly strong, so the snow compression and recrystallization seems to have been successful!
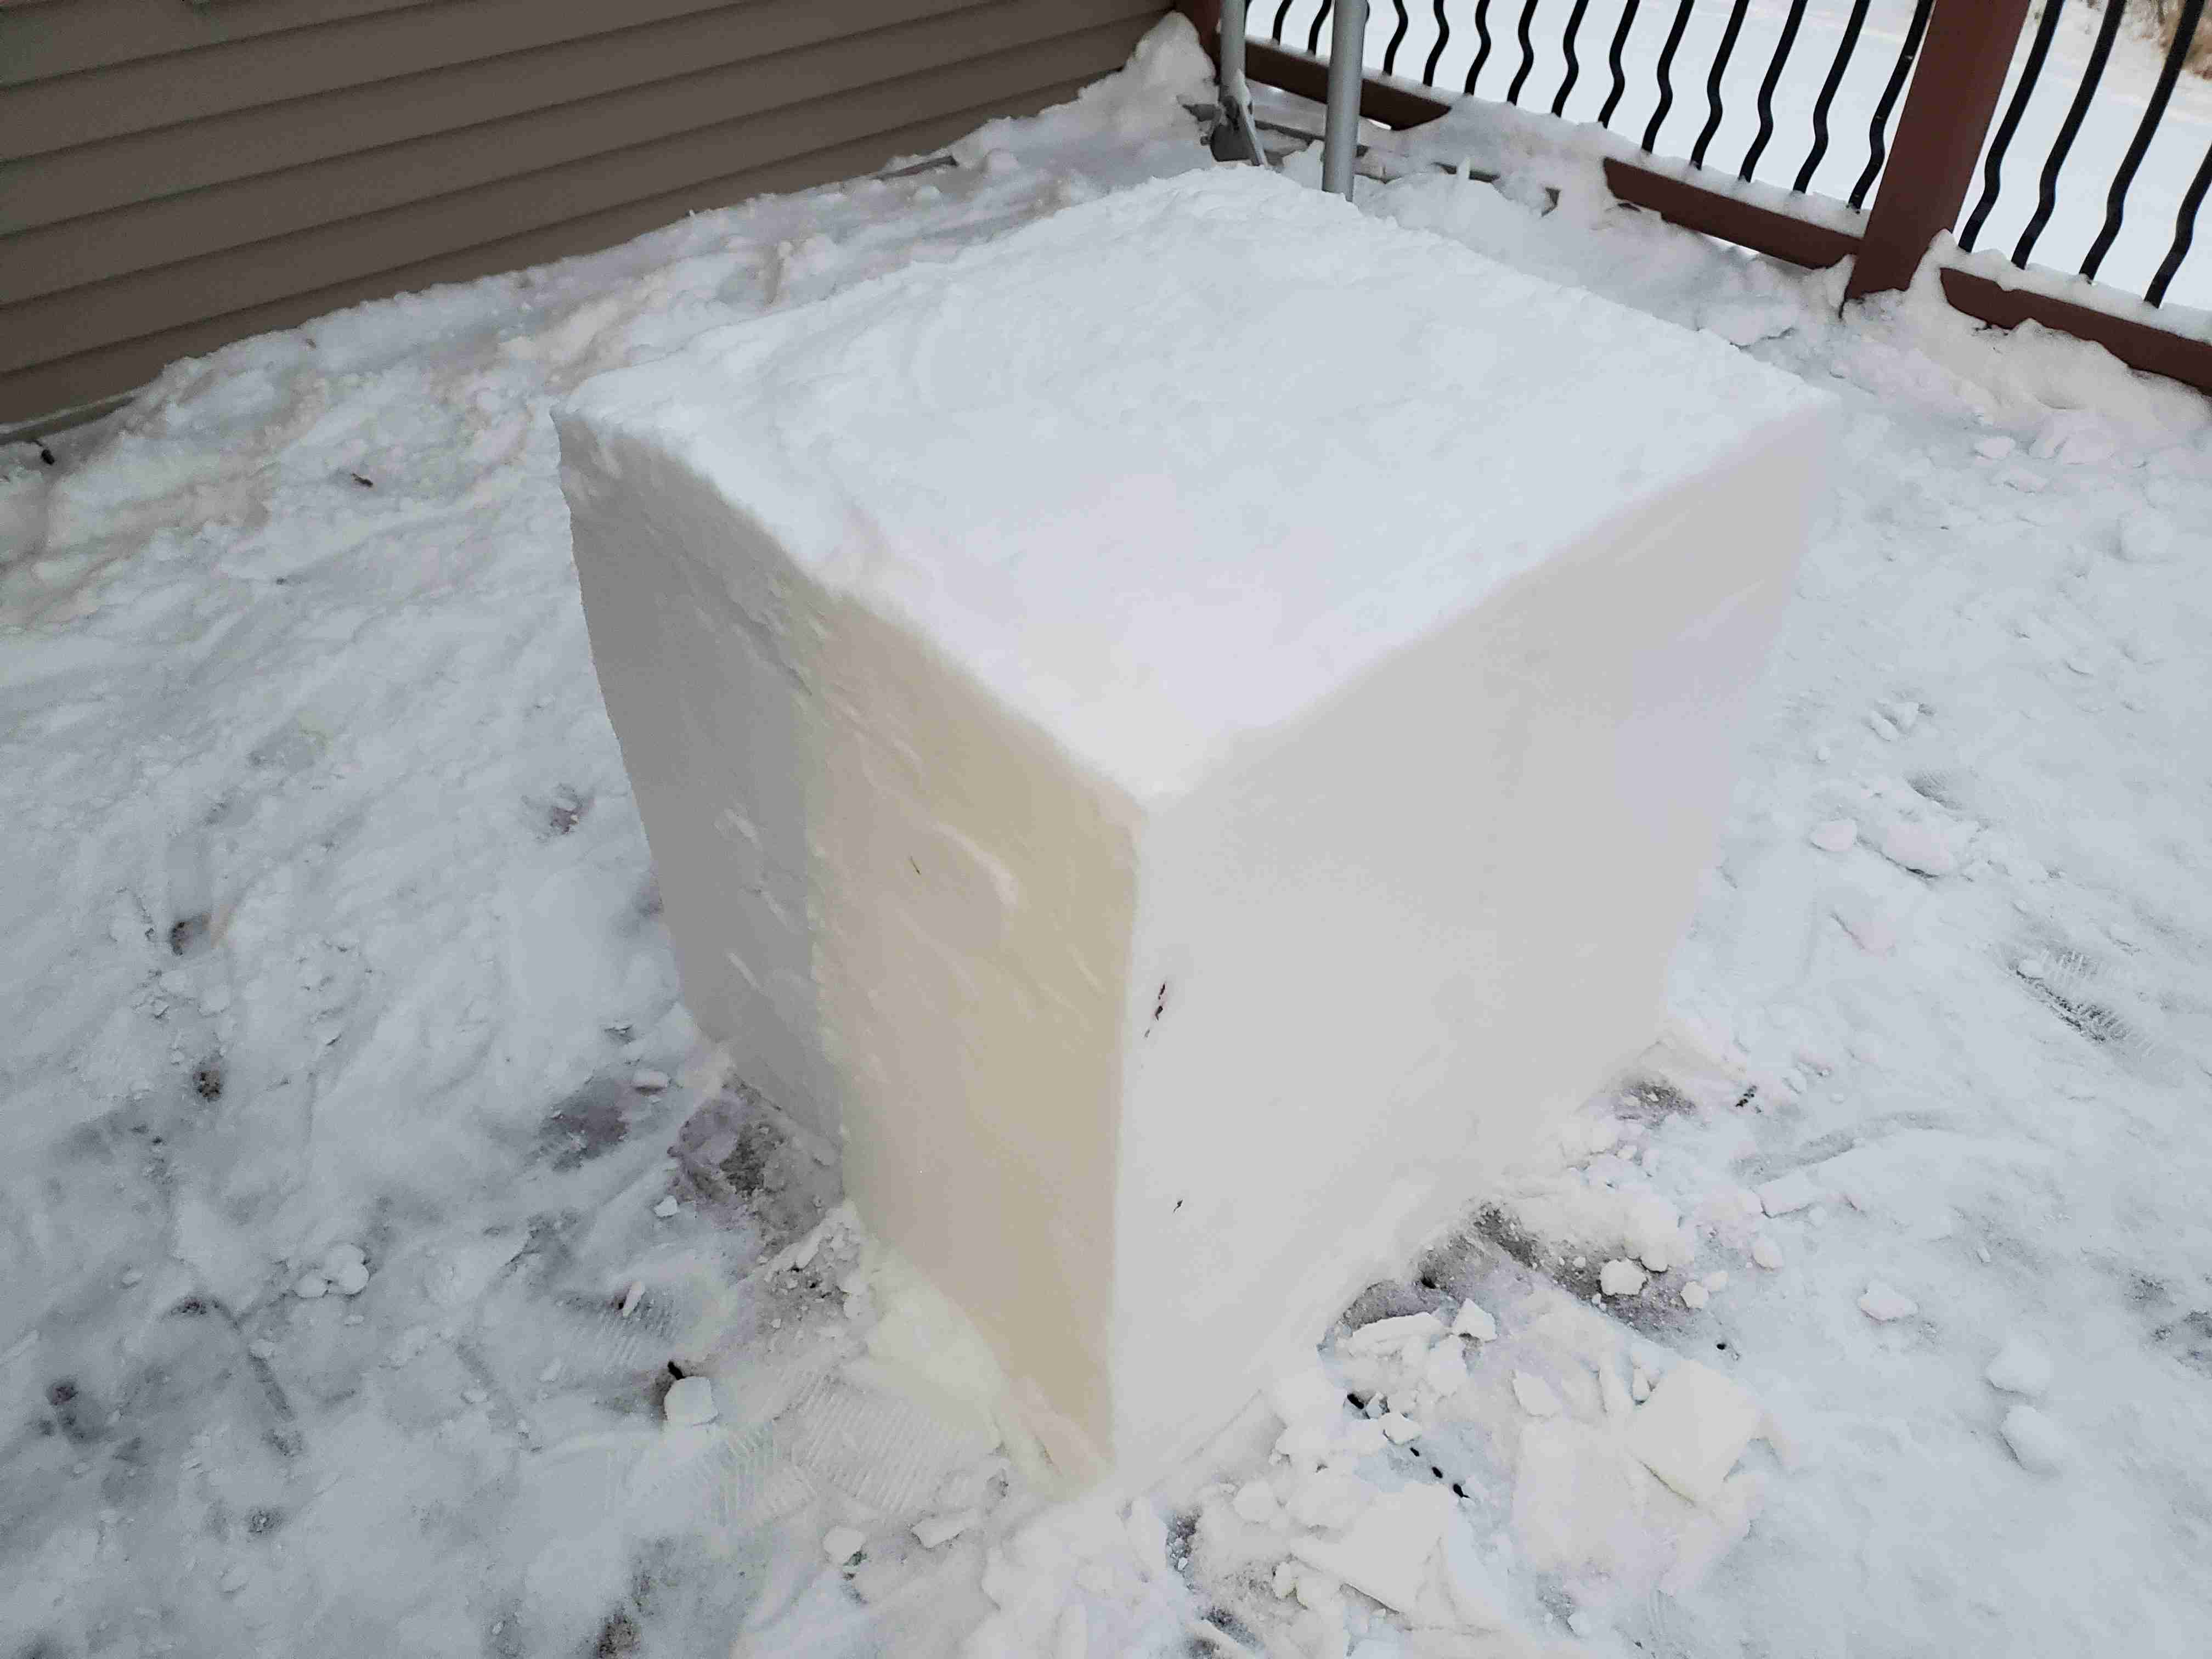
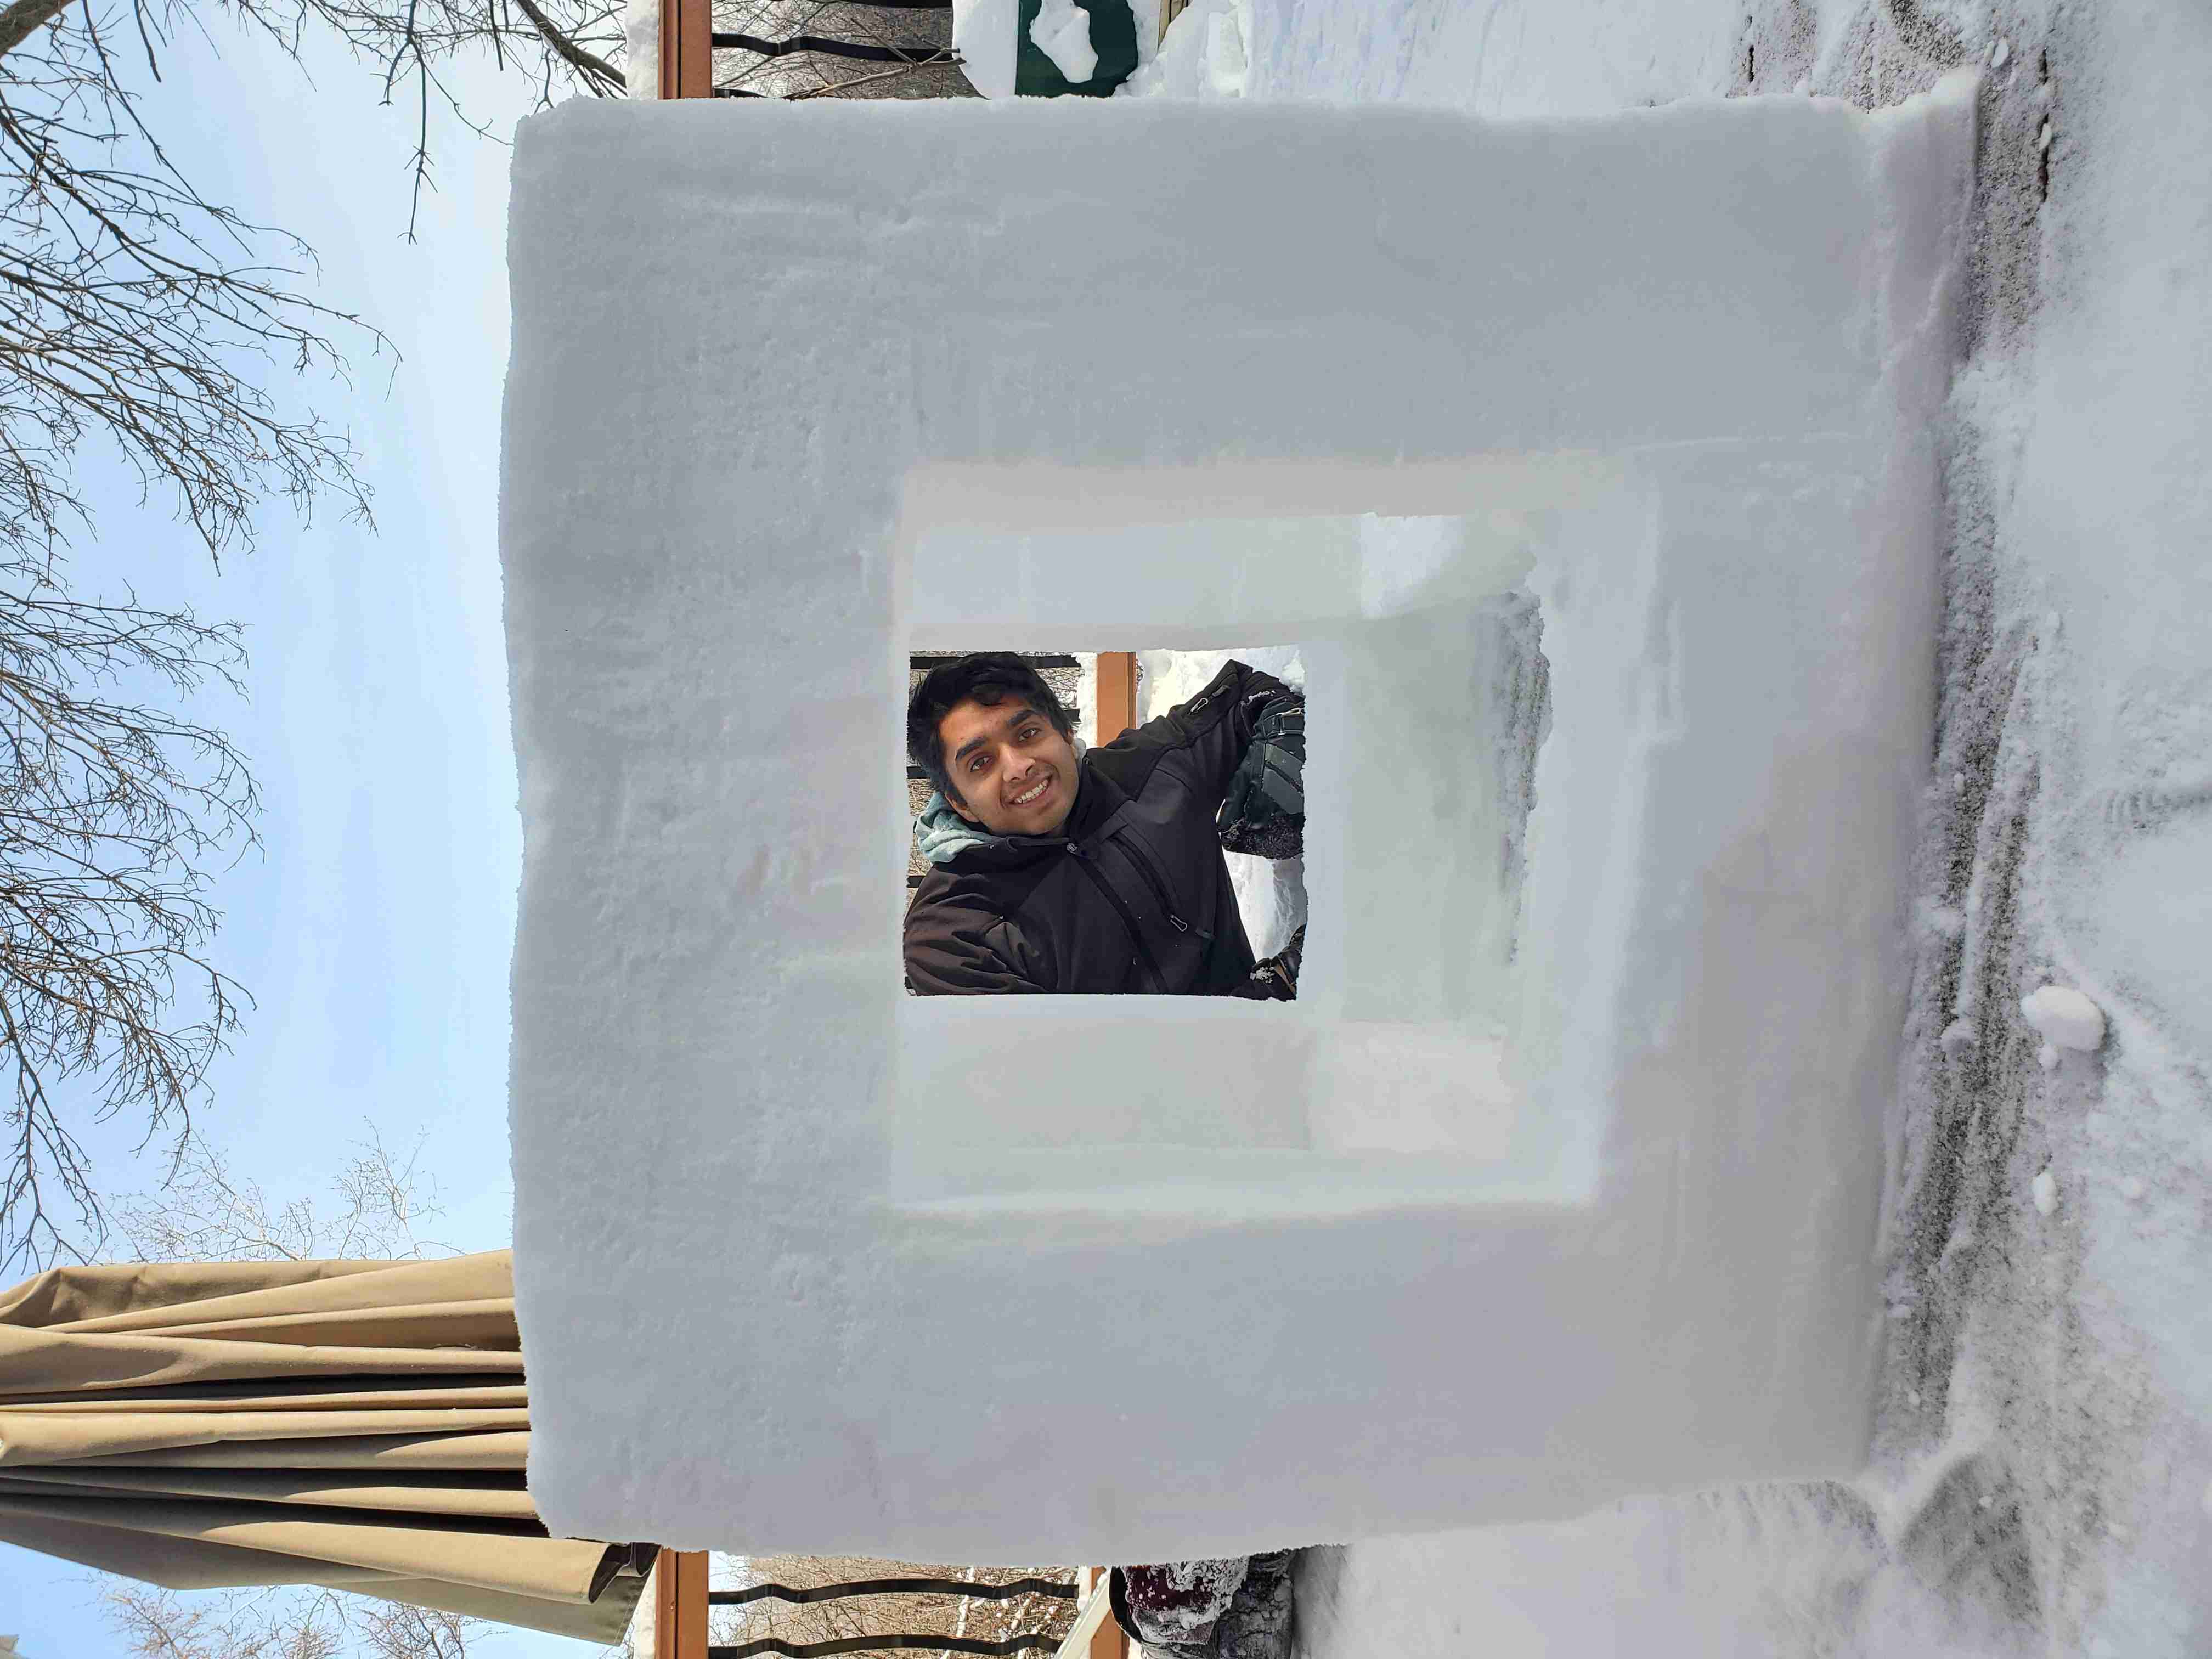
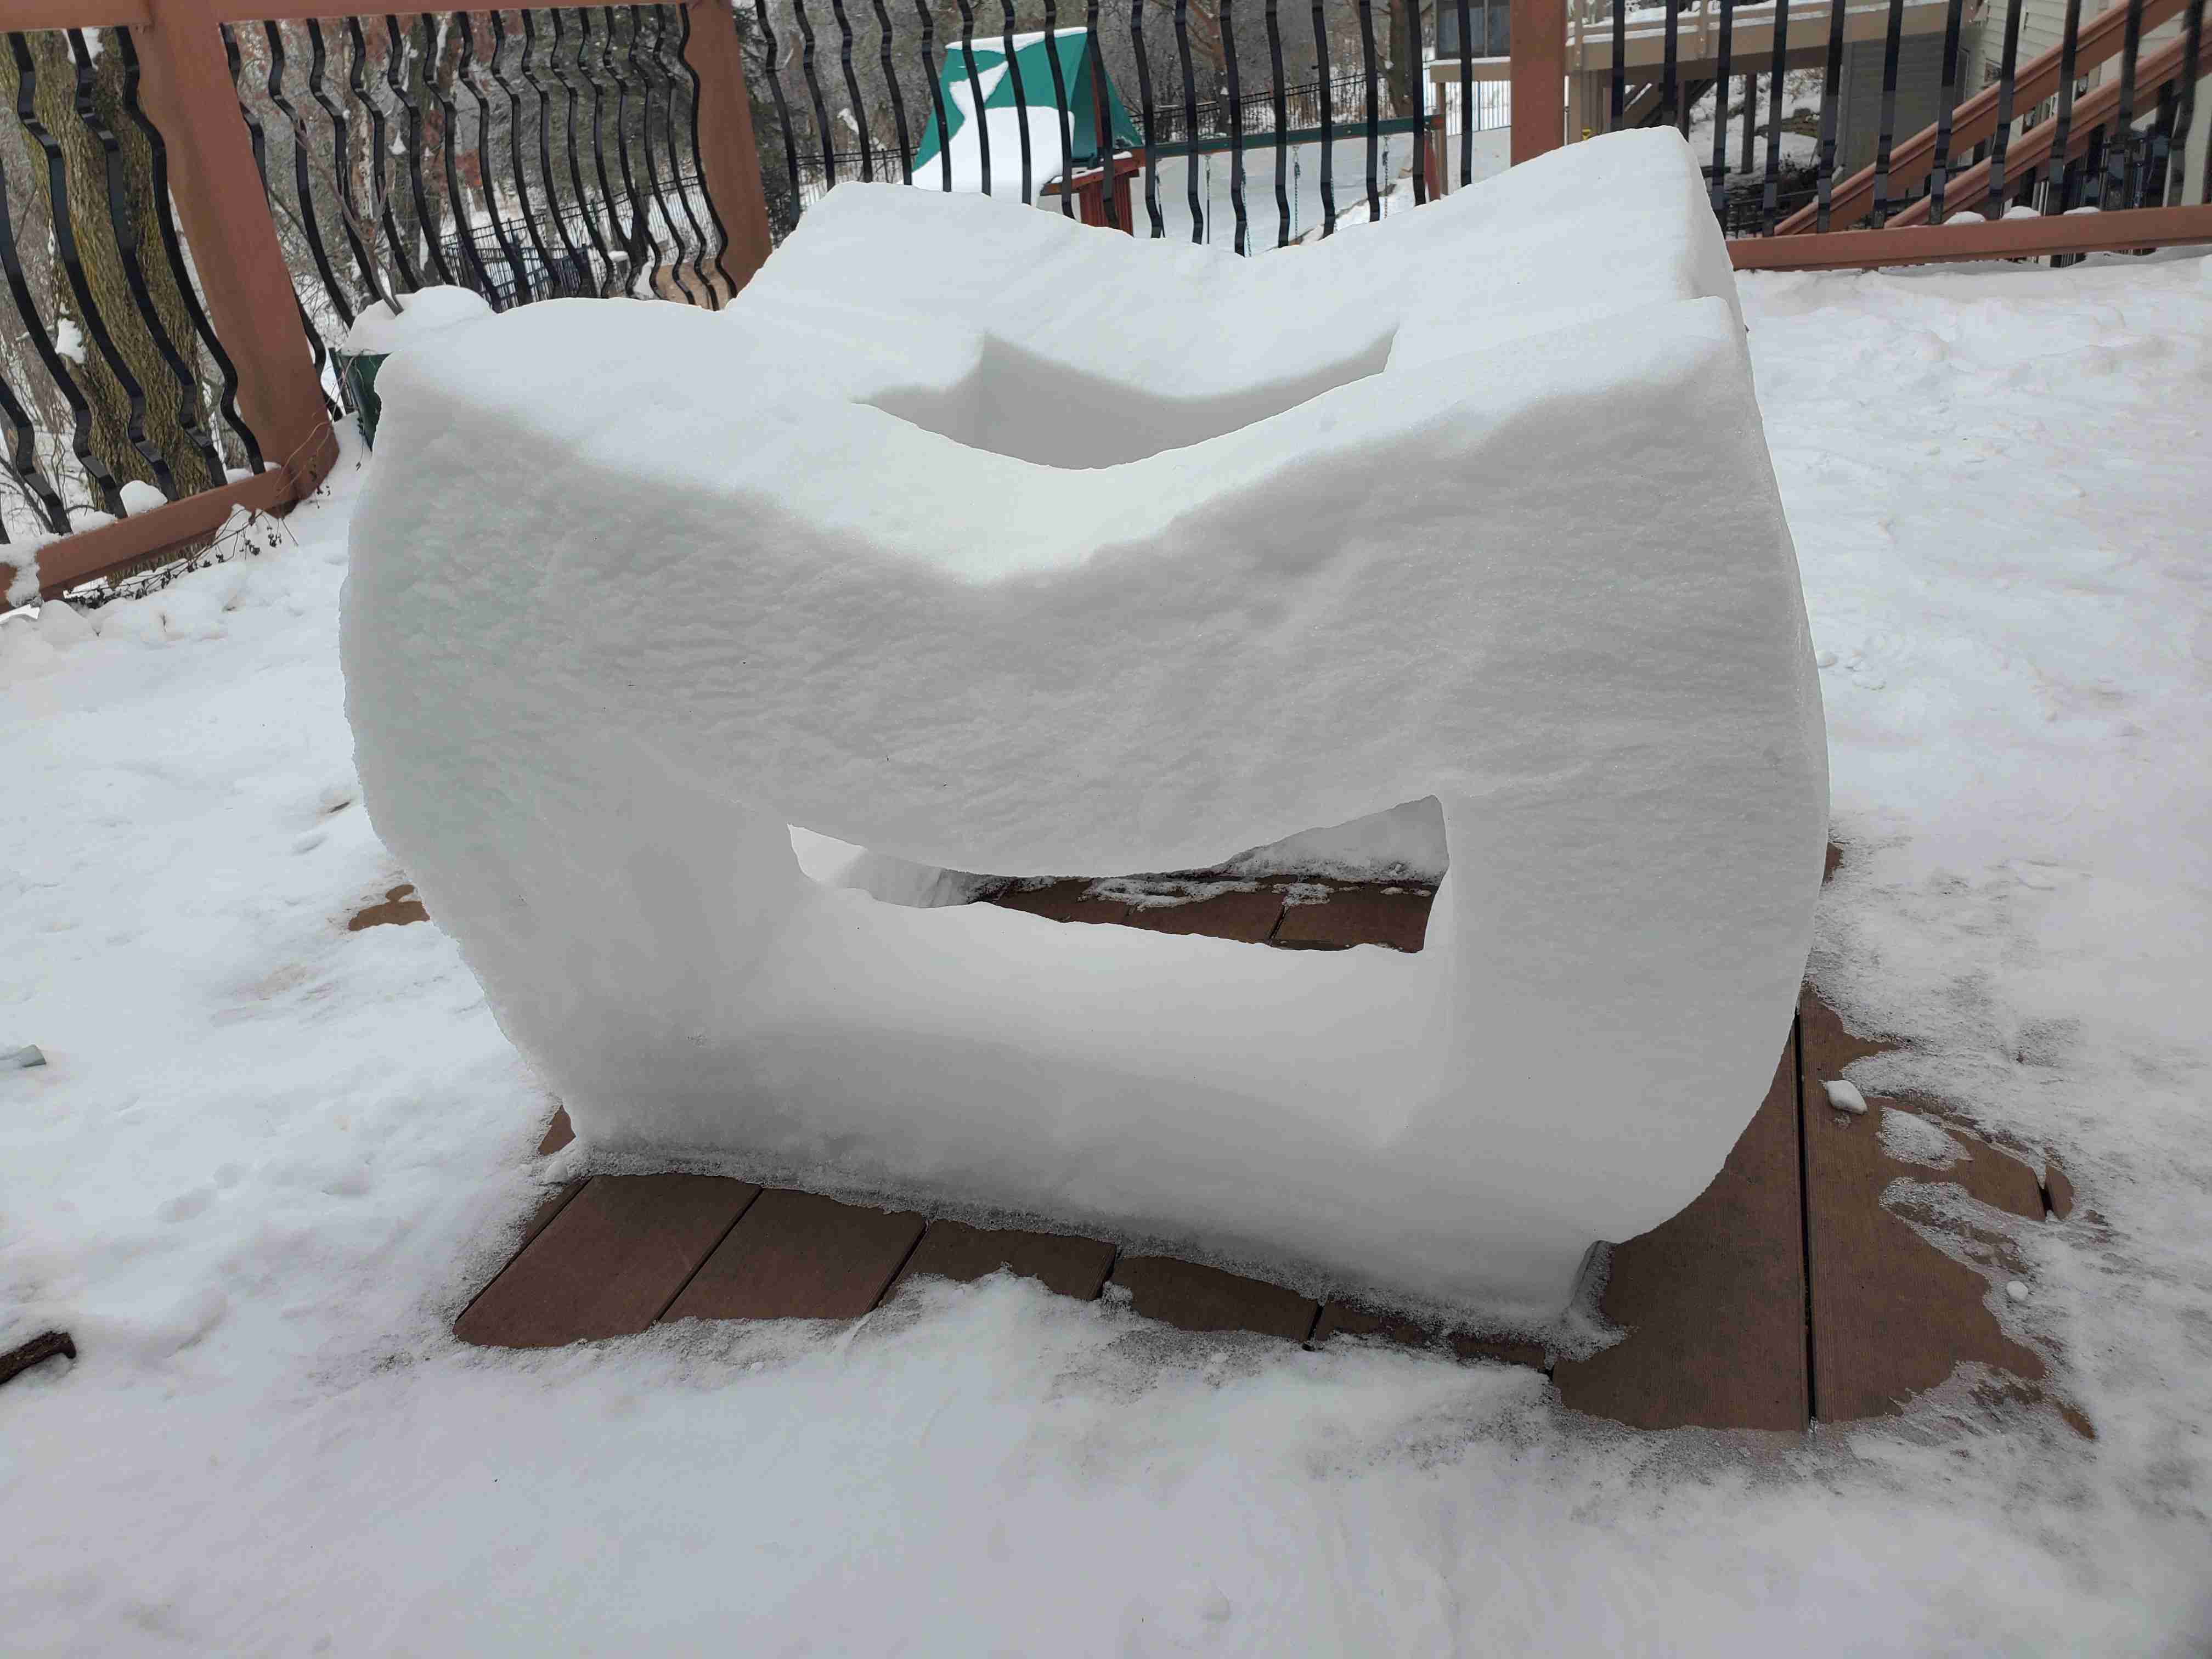
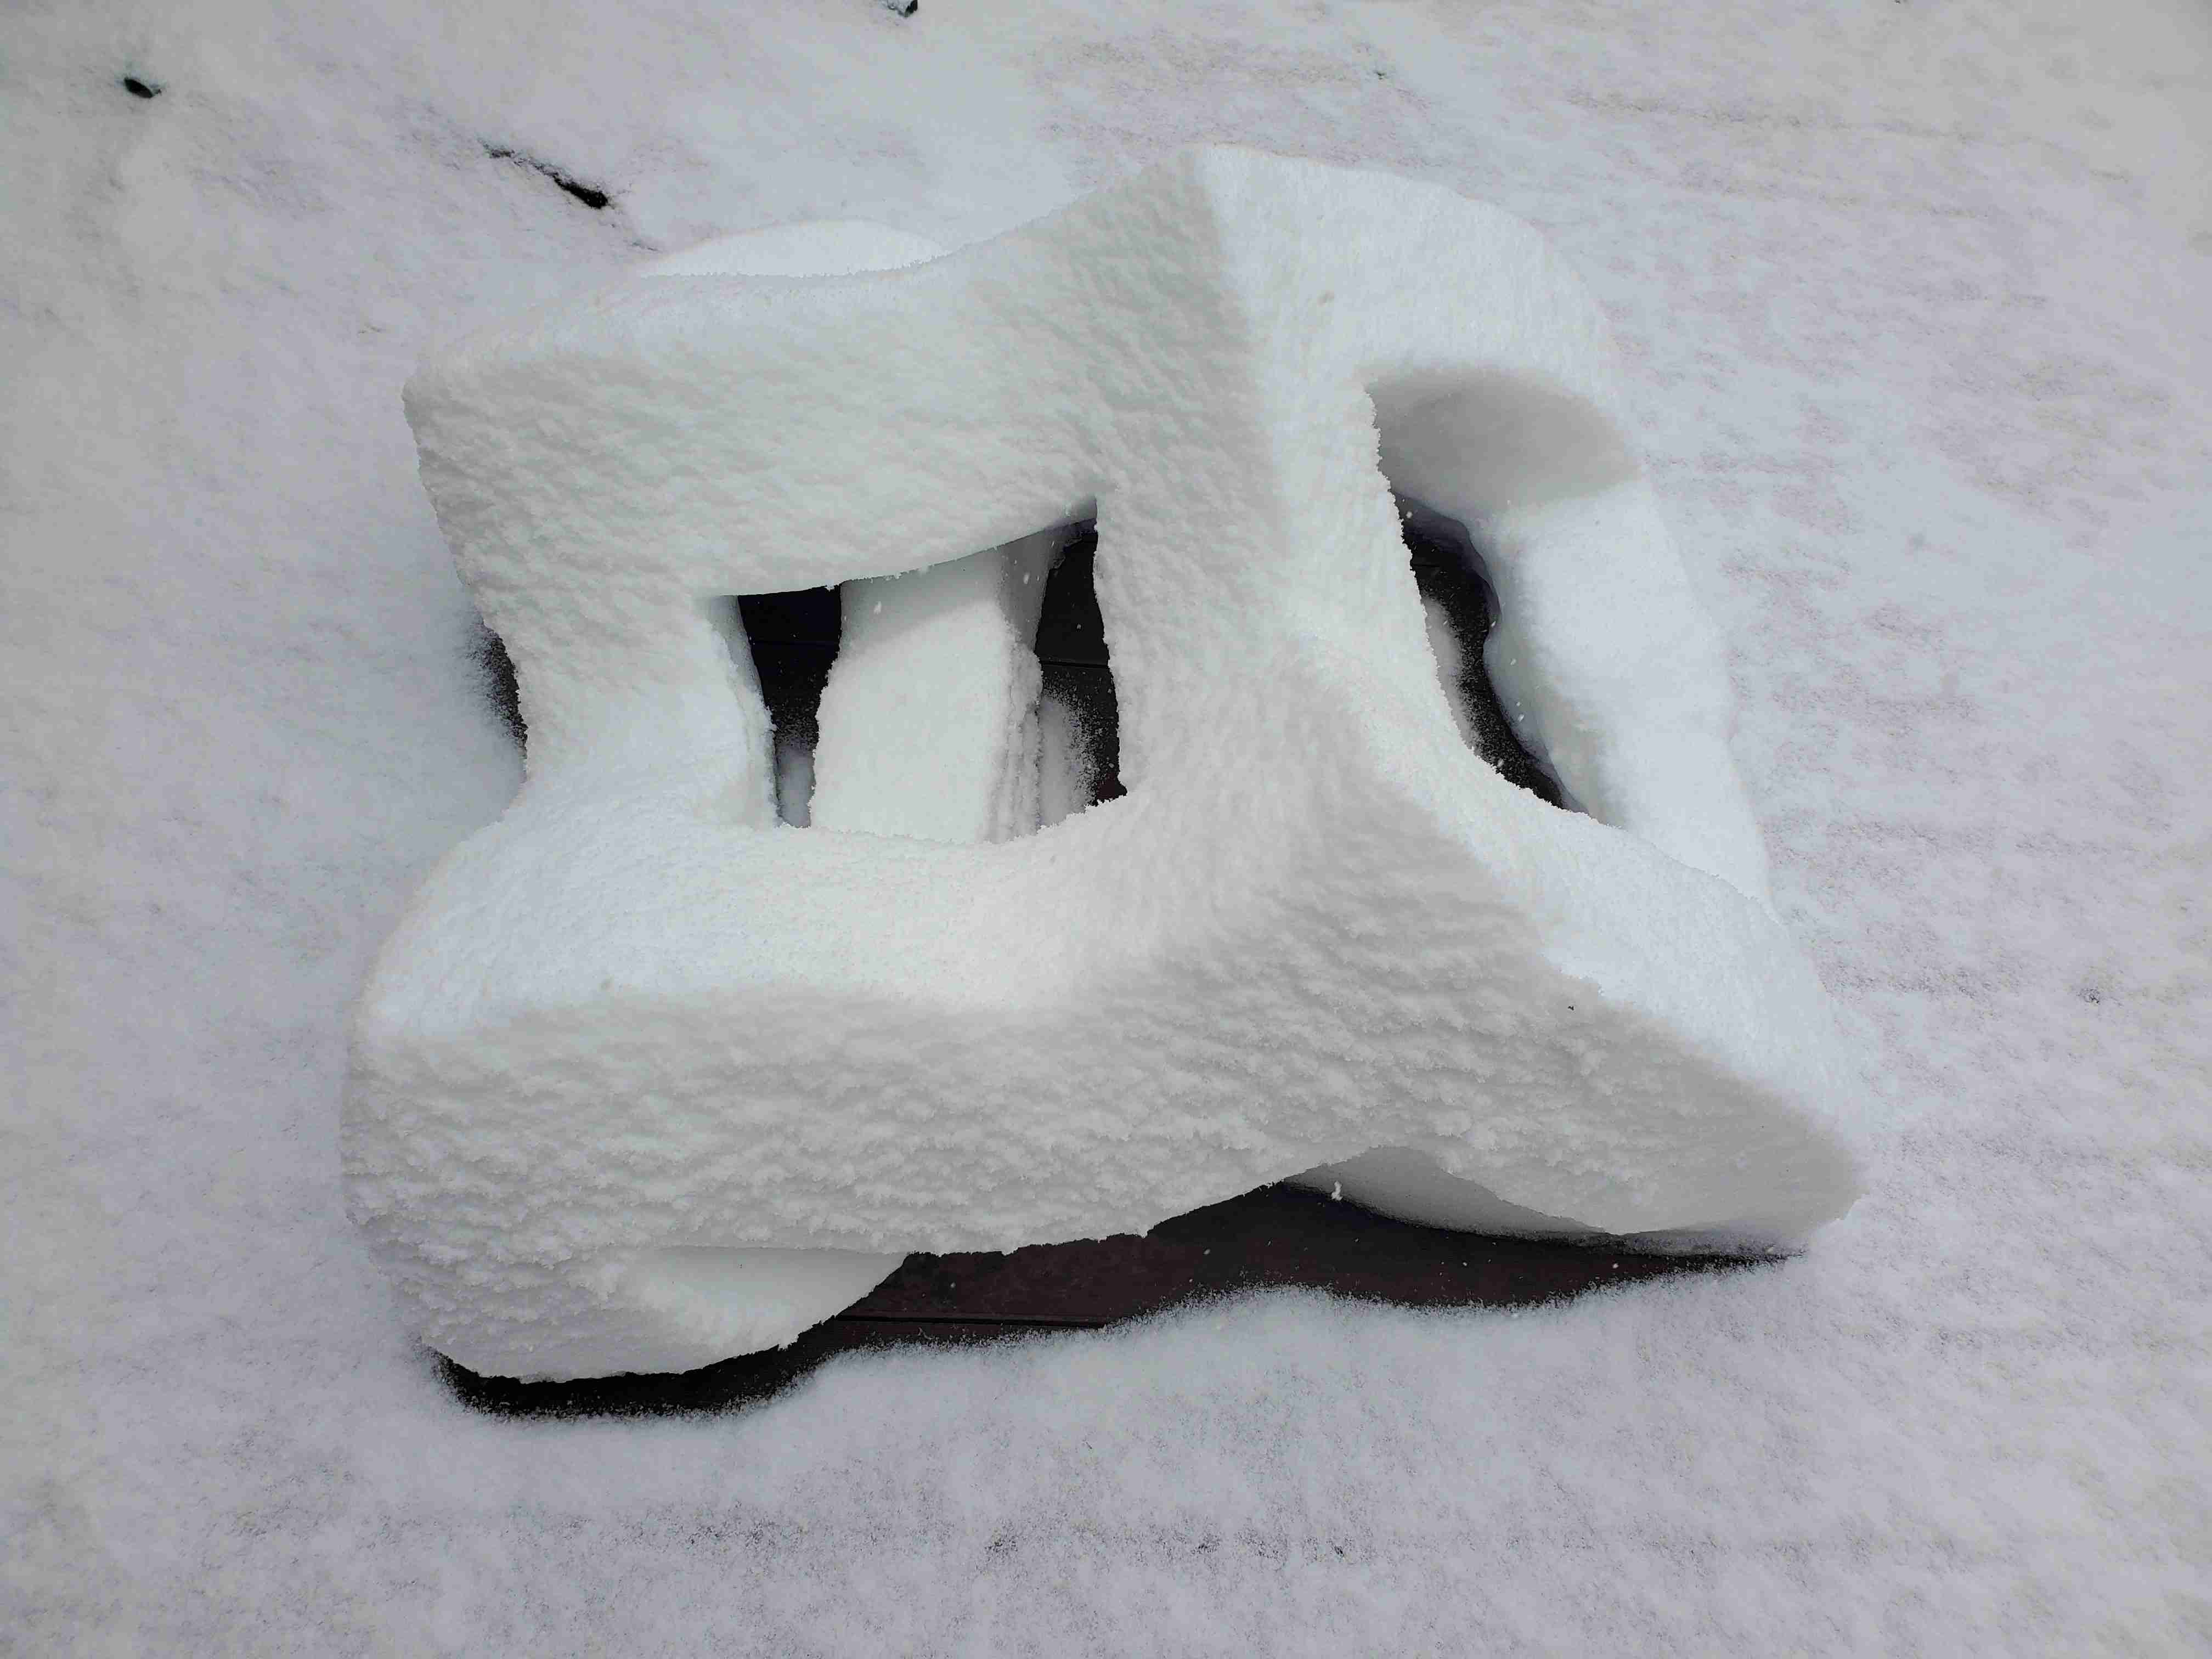
At this point, I realized something was missing. Or rather, something was present and needed to be removed. I decided to dig out holes in each side of the cube, leaving just a skeletonized version. I started by just digging a narrow hole into each side until they met and formed a tunnel. After that, I slowly widened the tunnel. I realized the cube wasn’t exactly equal in all three dimensions, and so I made the choice to let the holes be non-square, but keep the width of the skeleton edges exactly the same across all edges. Thankfully, everything held up structurally!
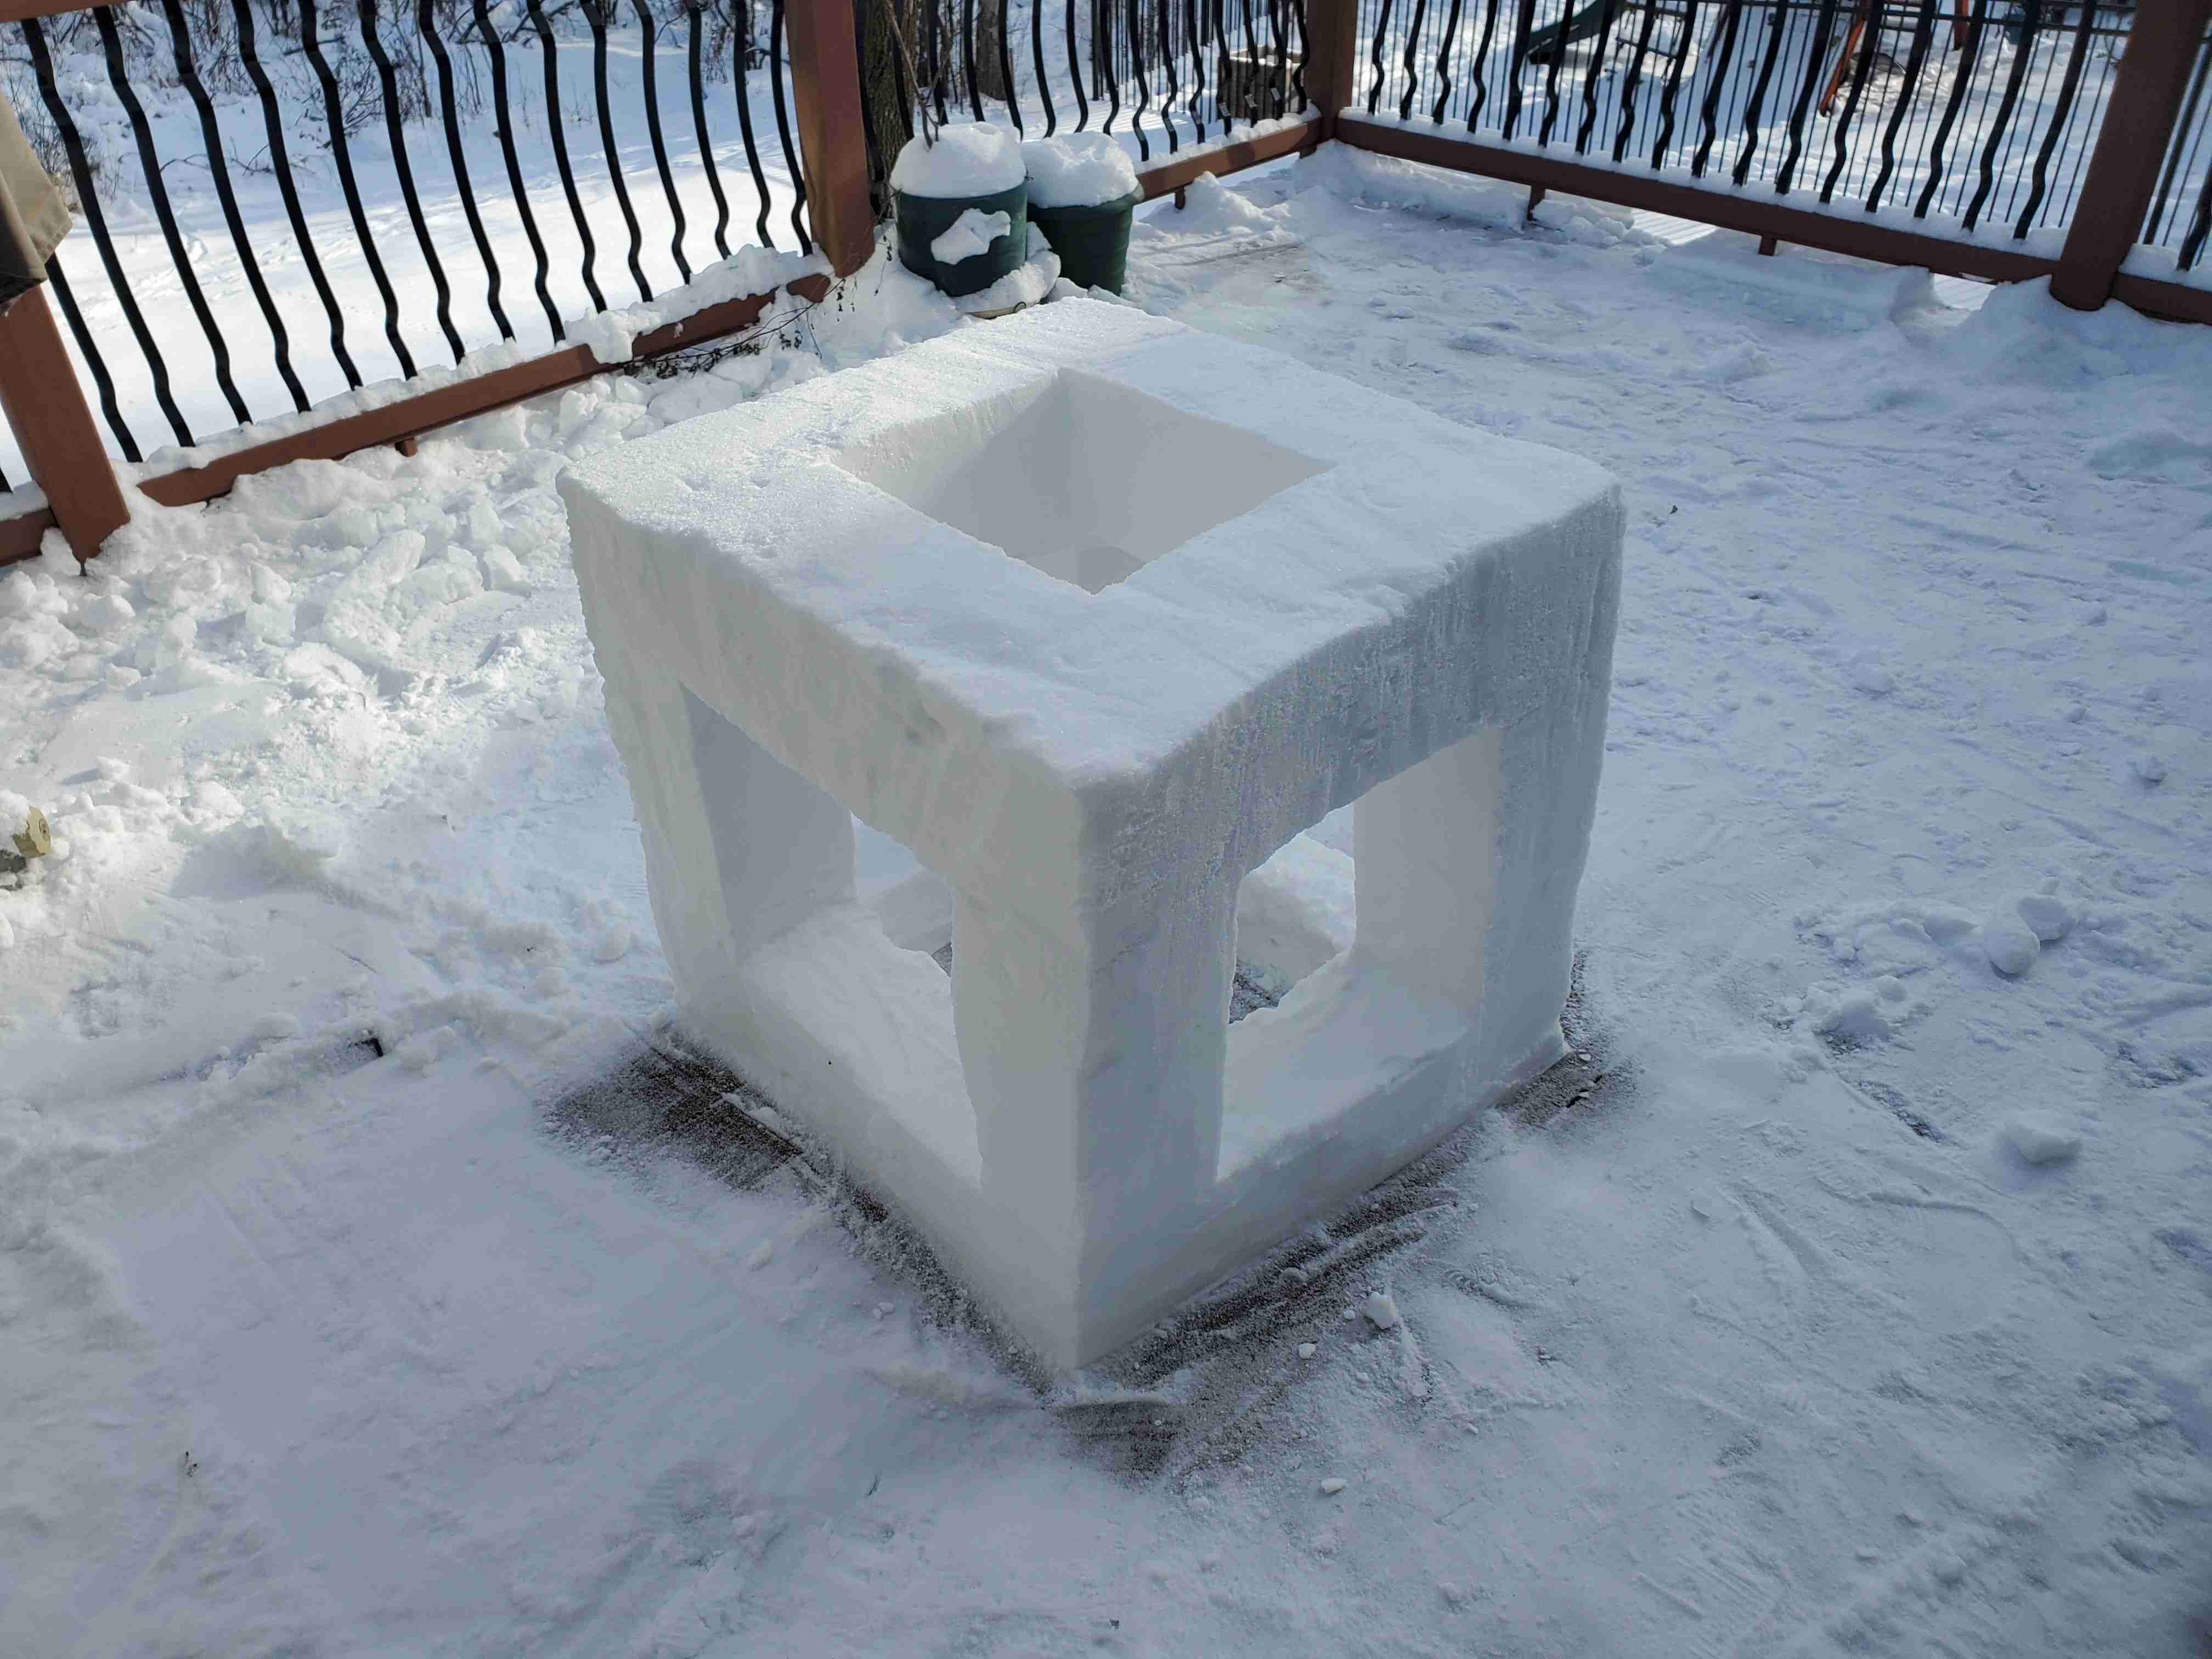
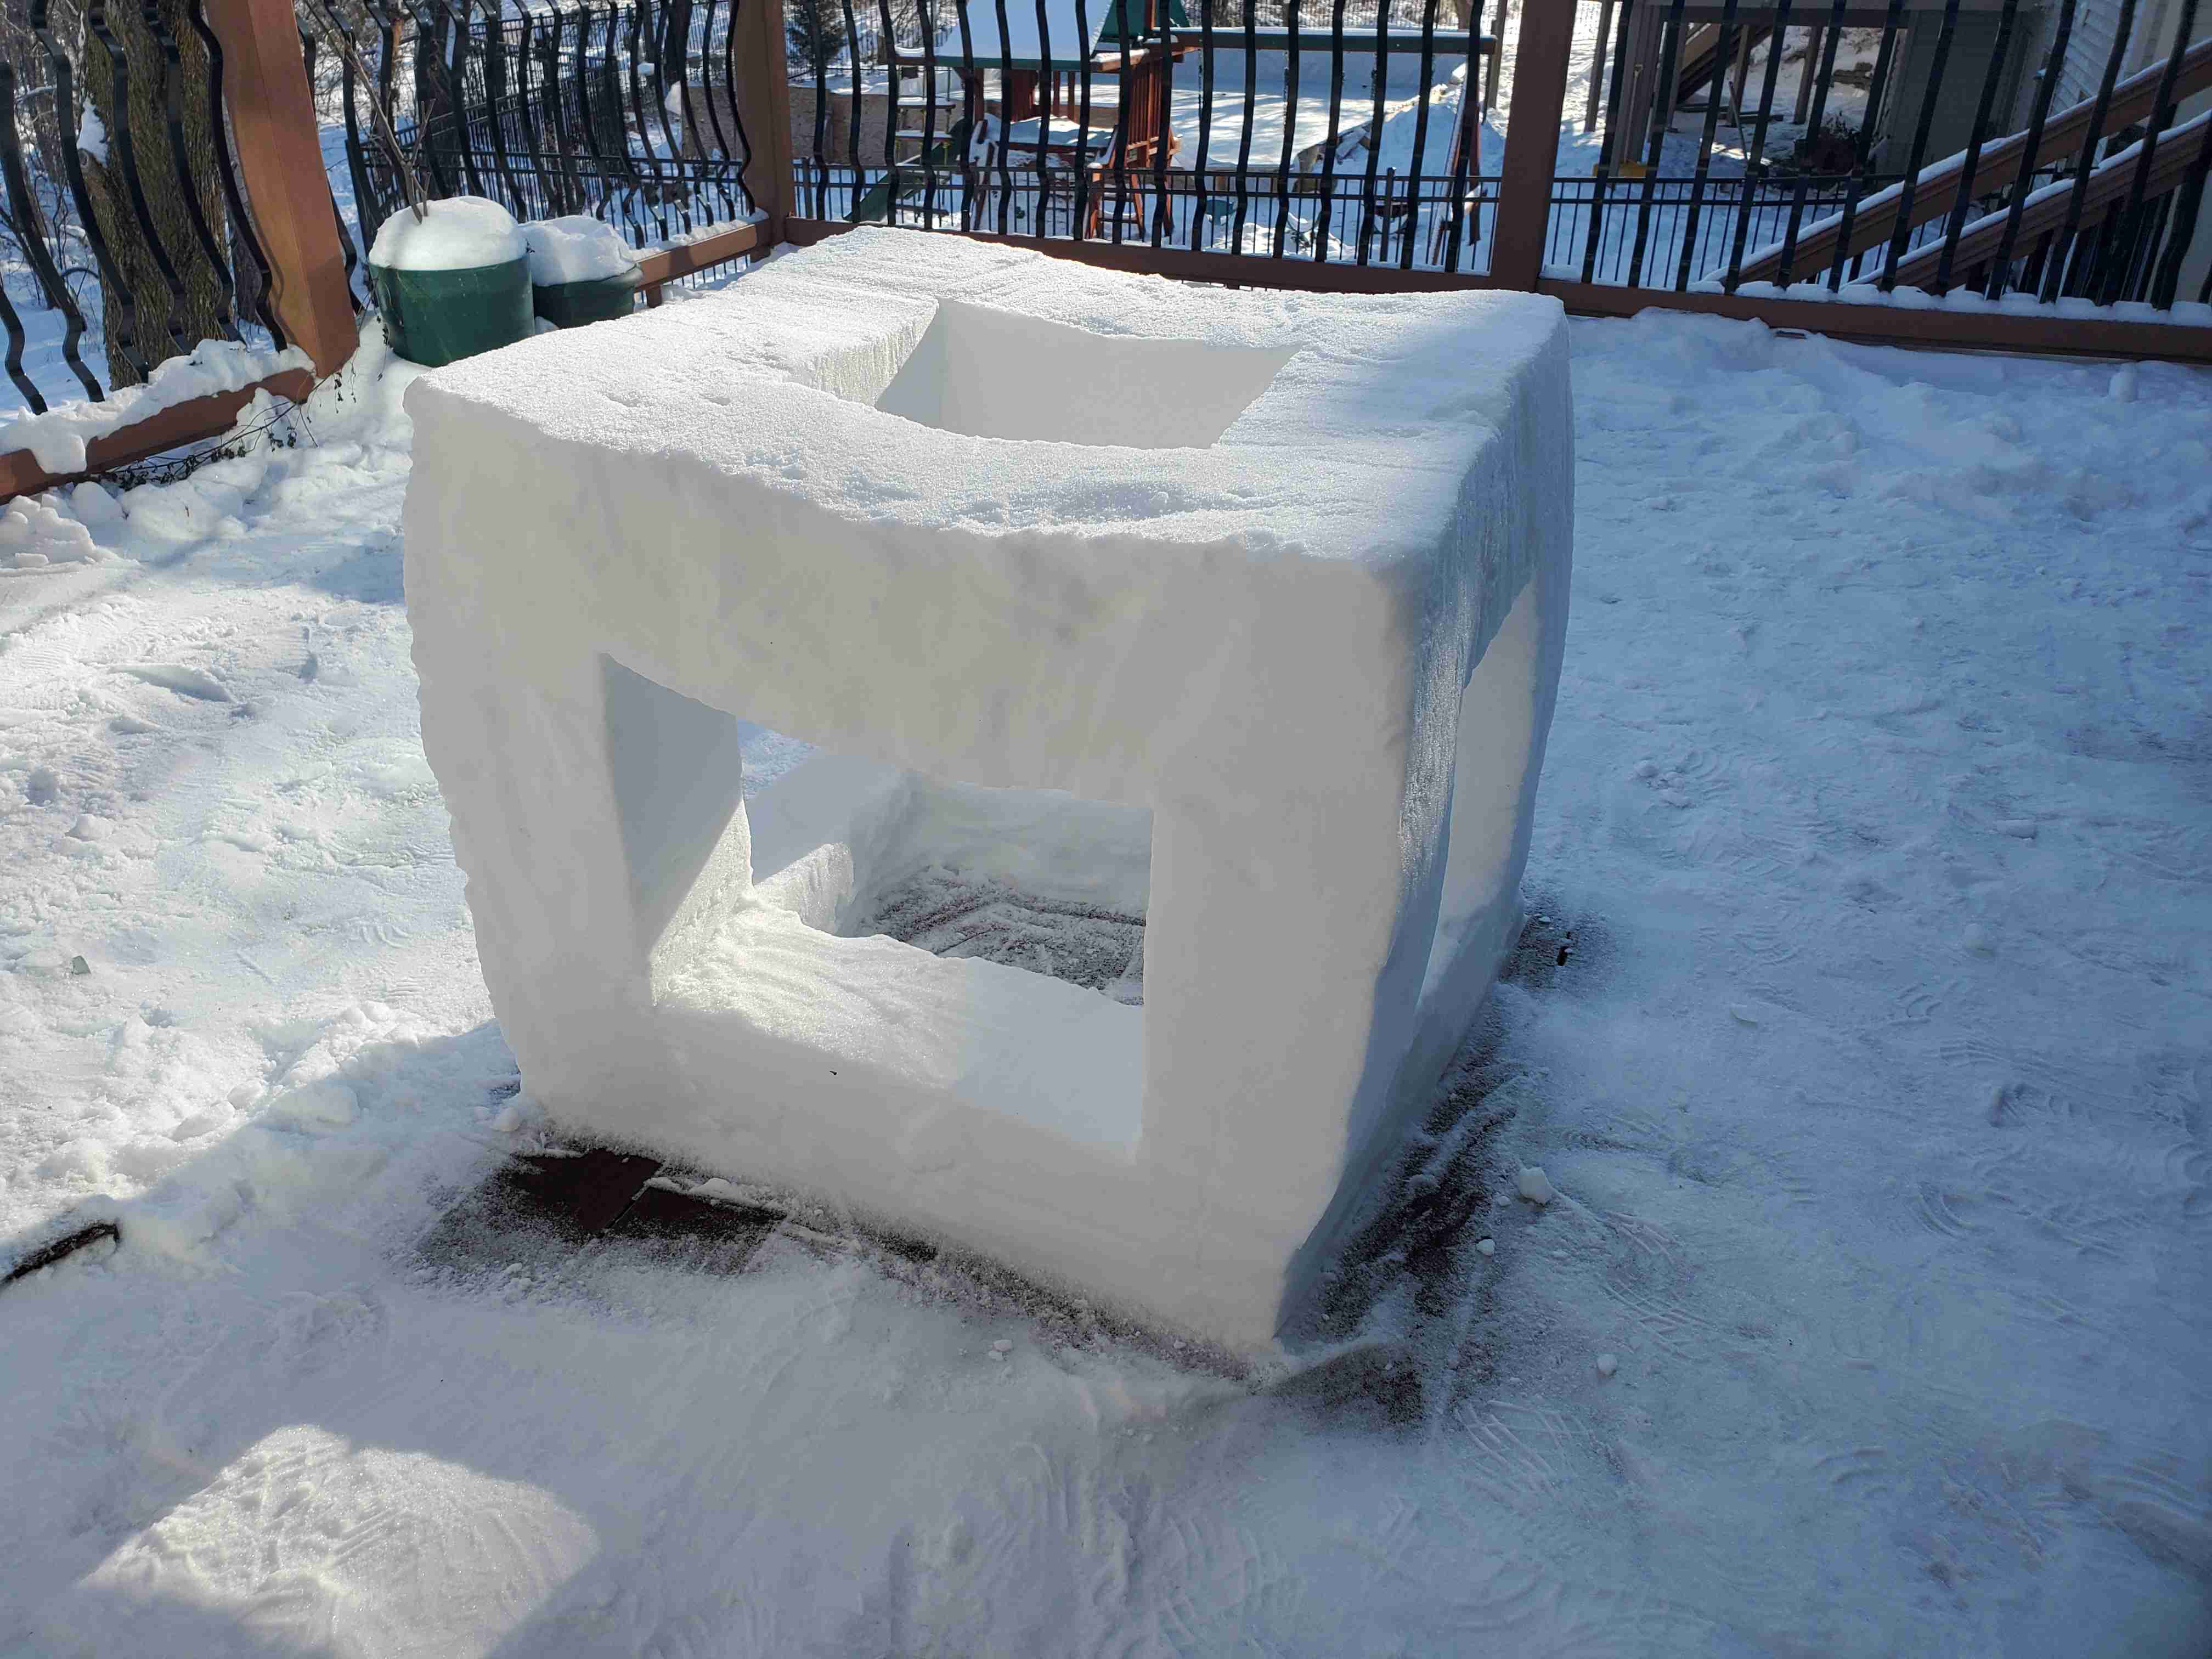
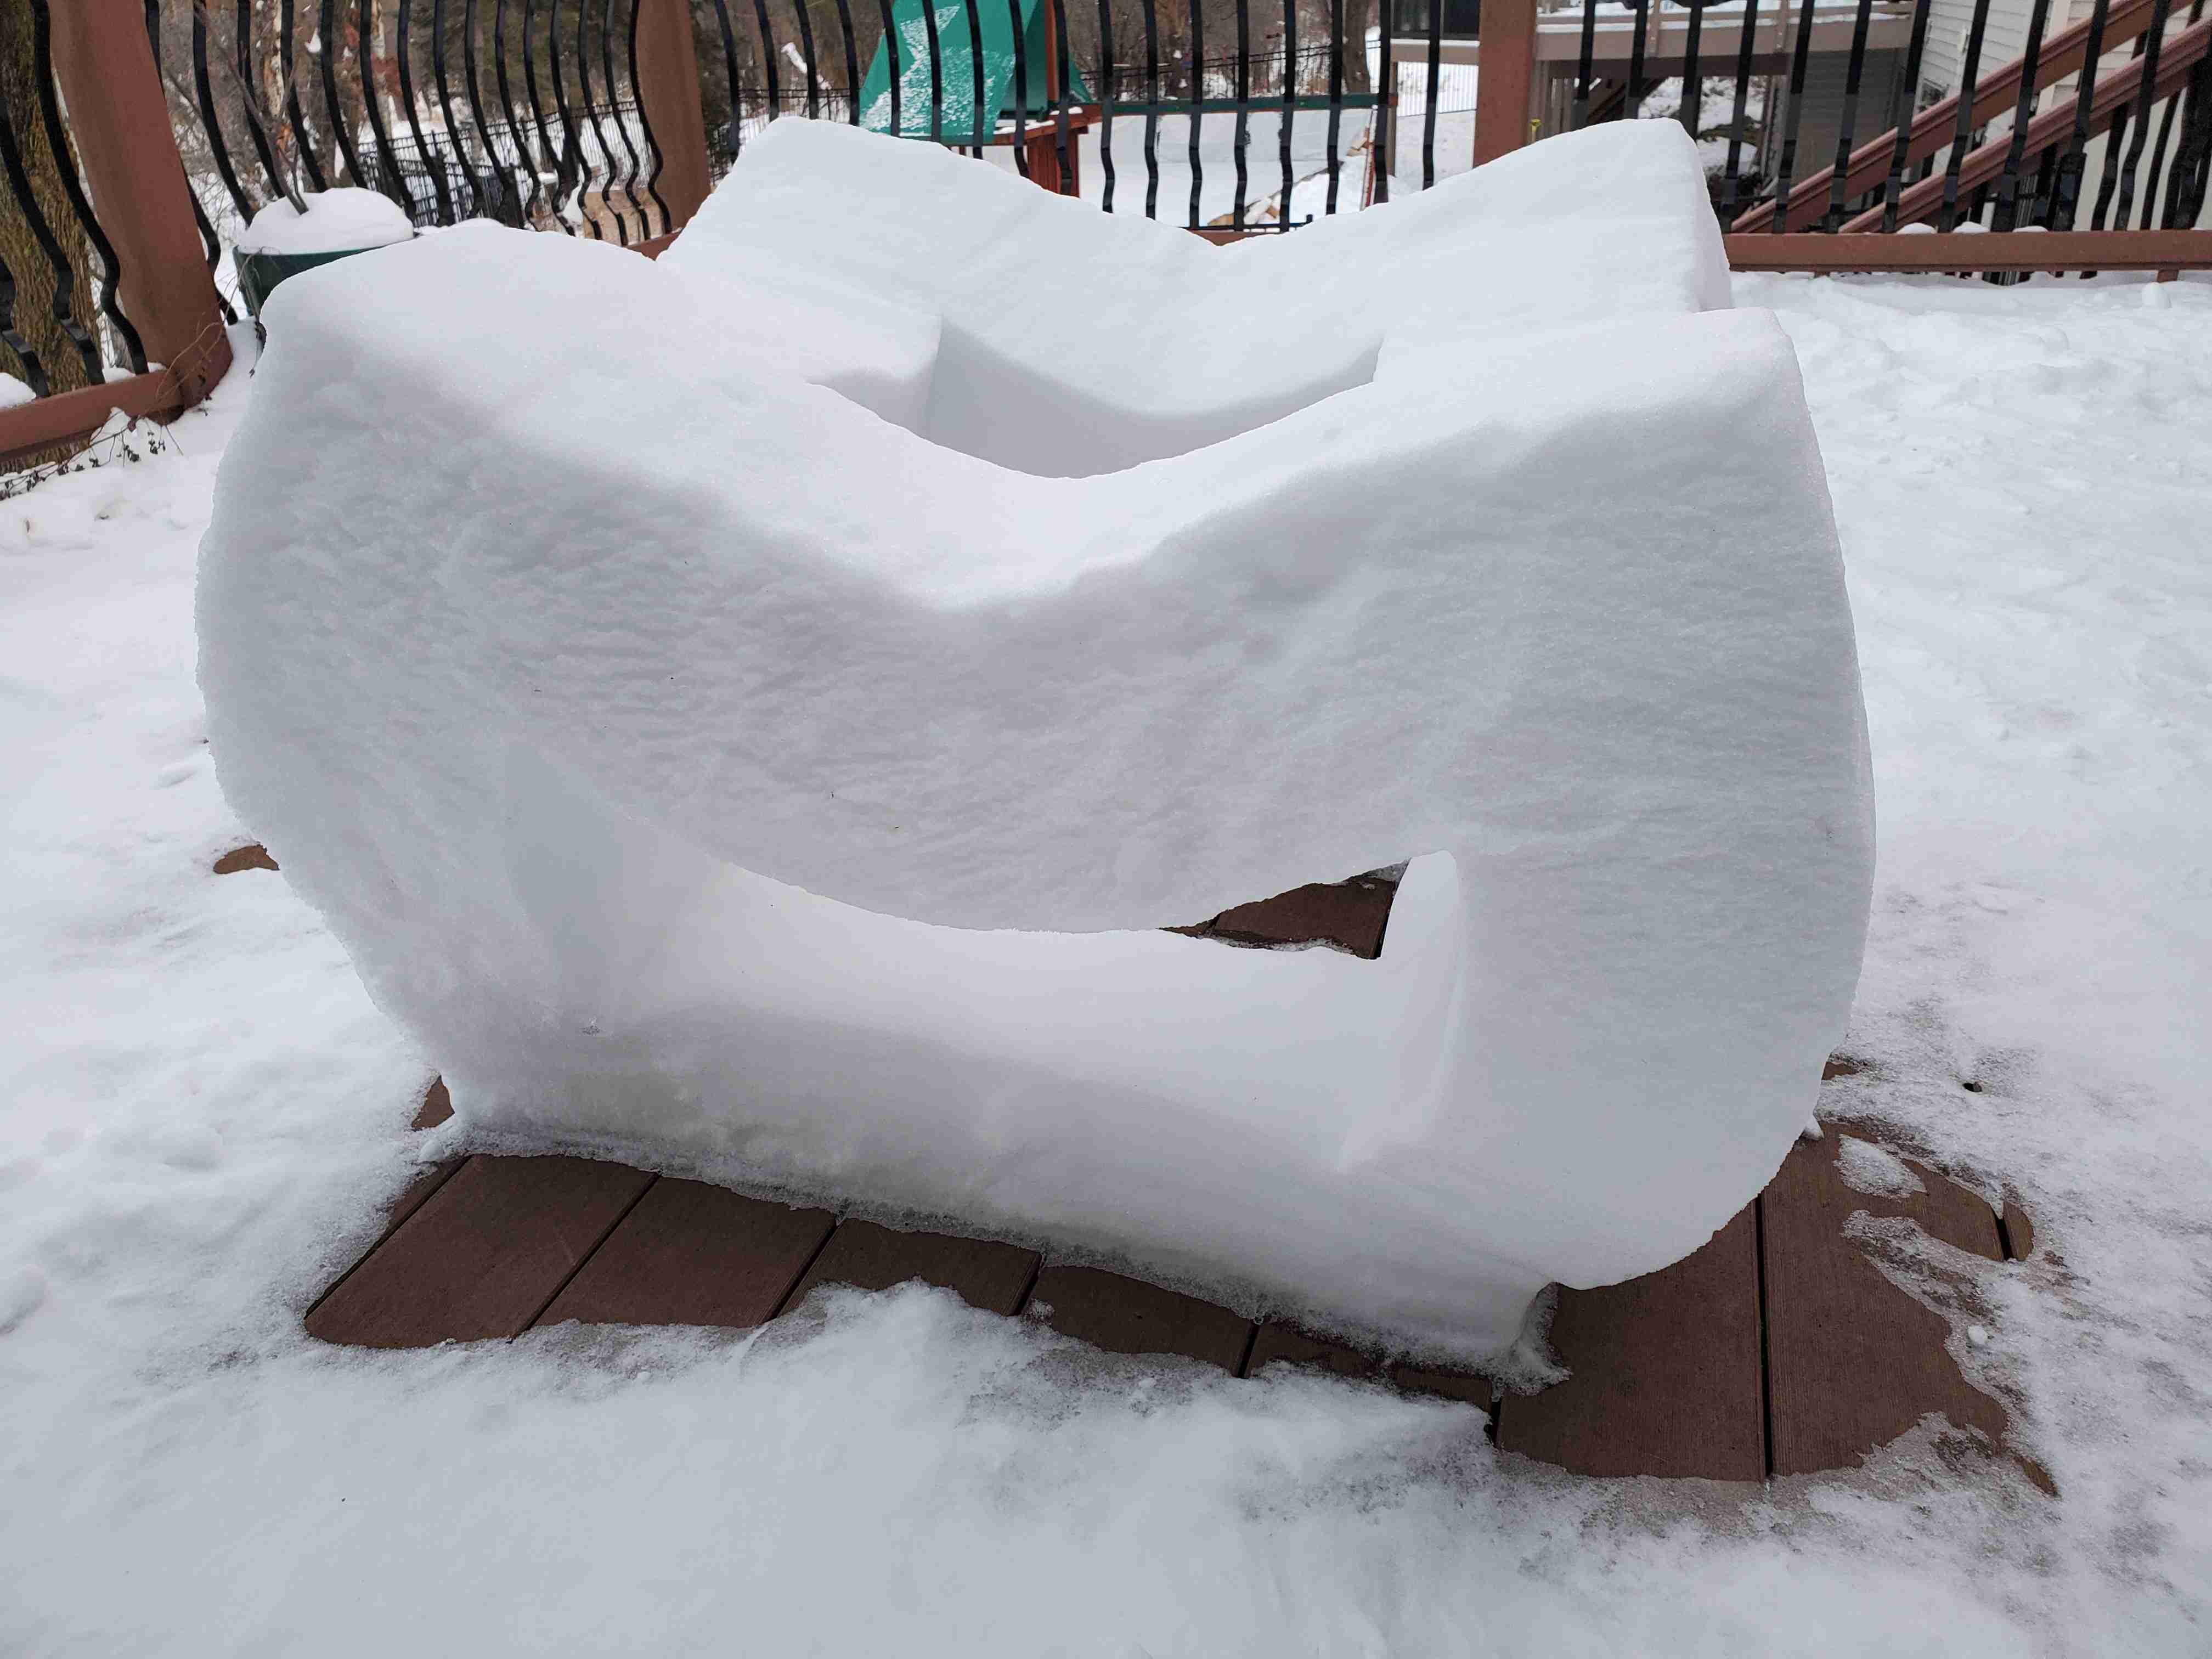
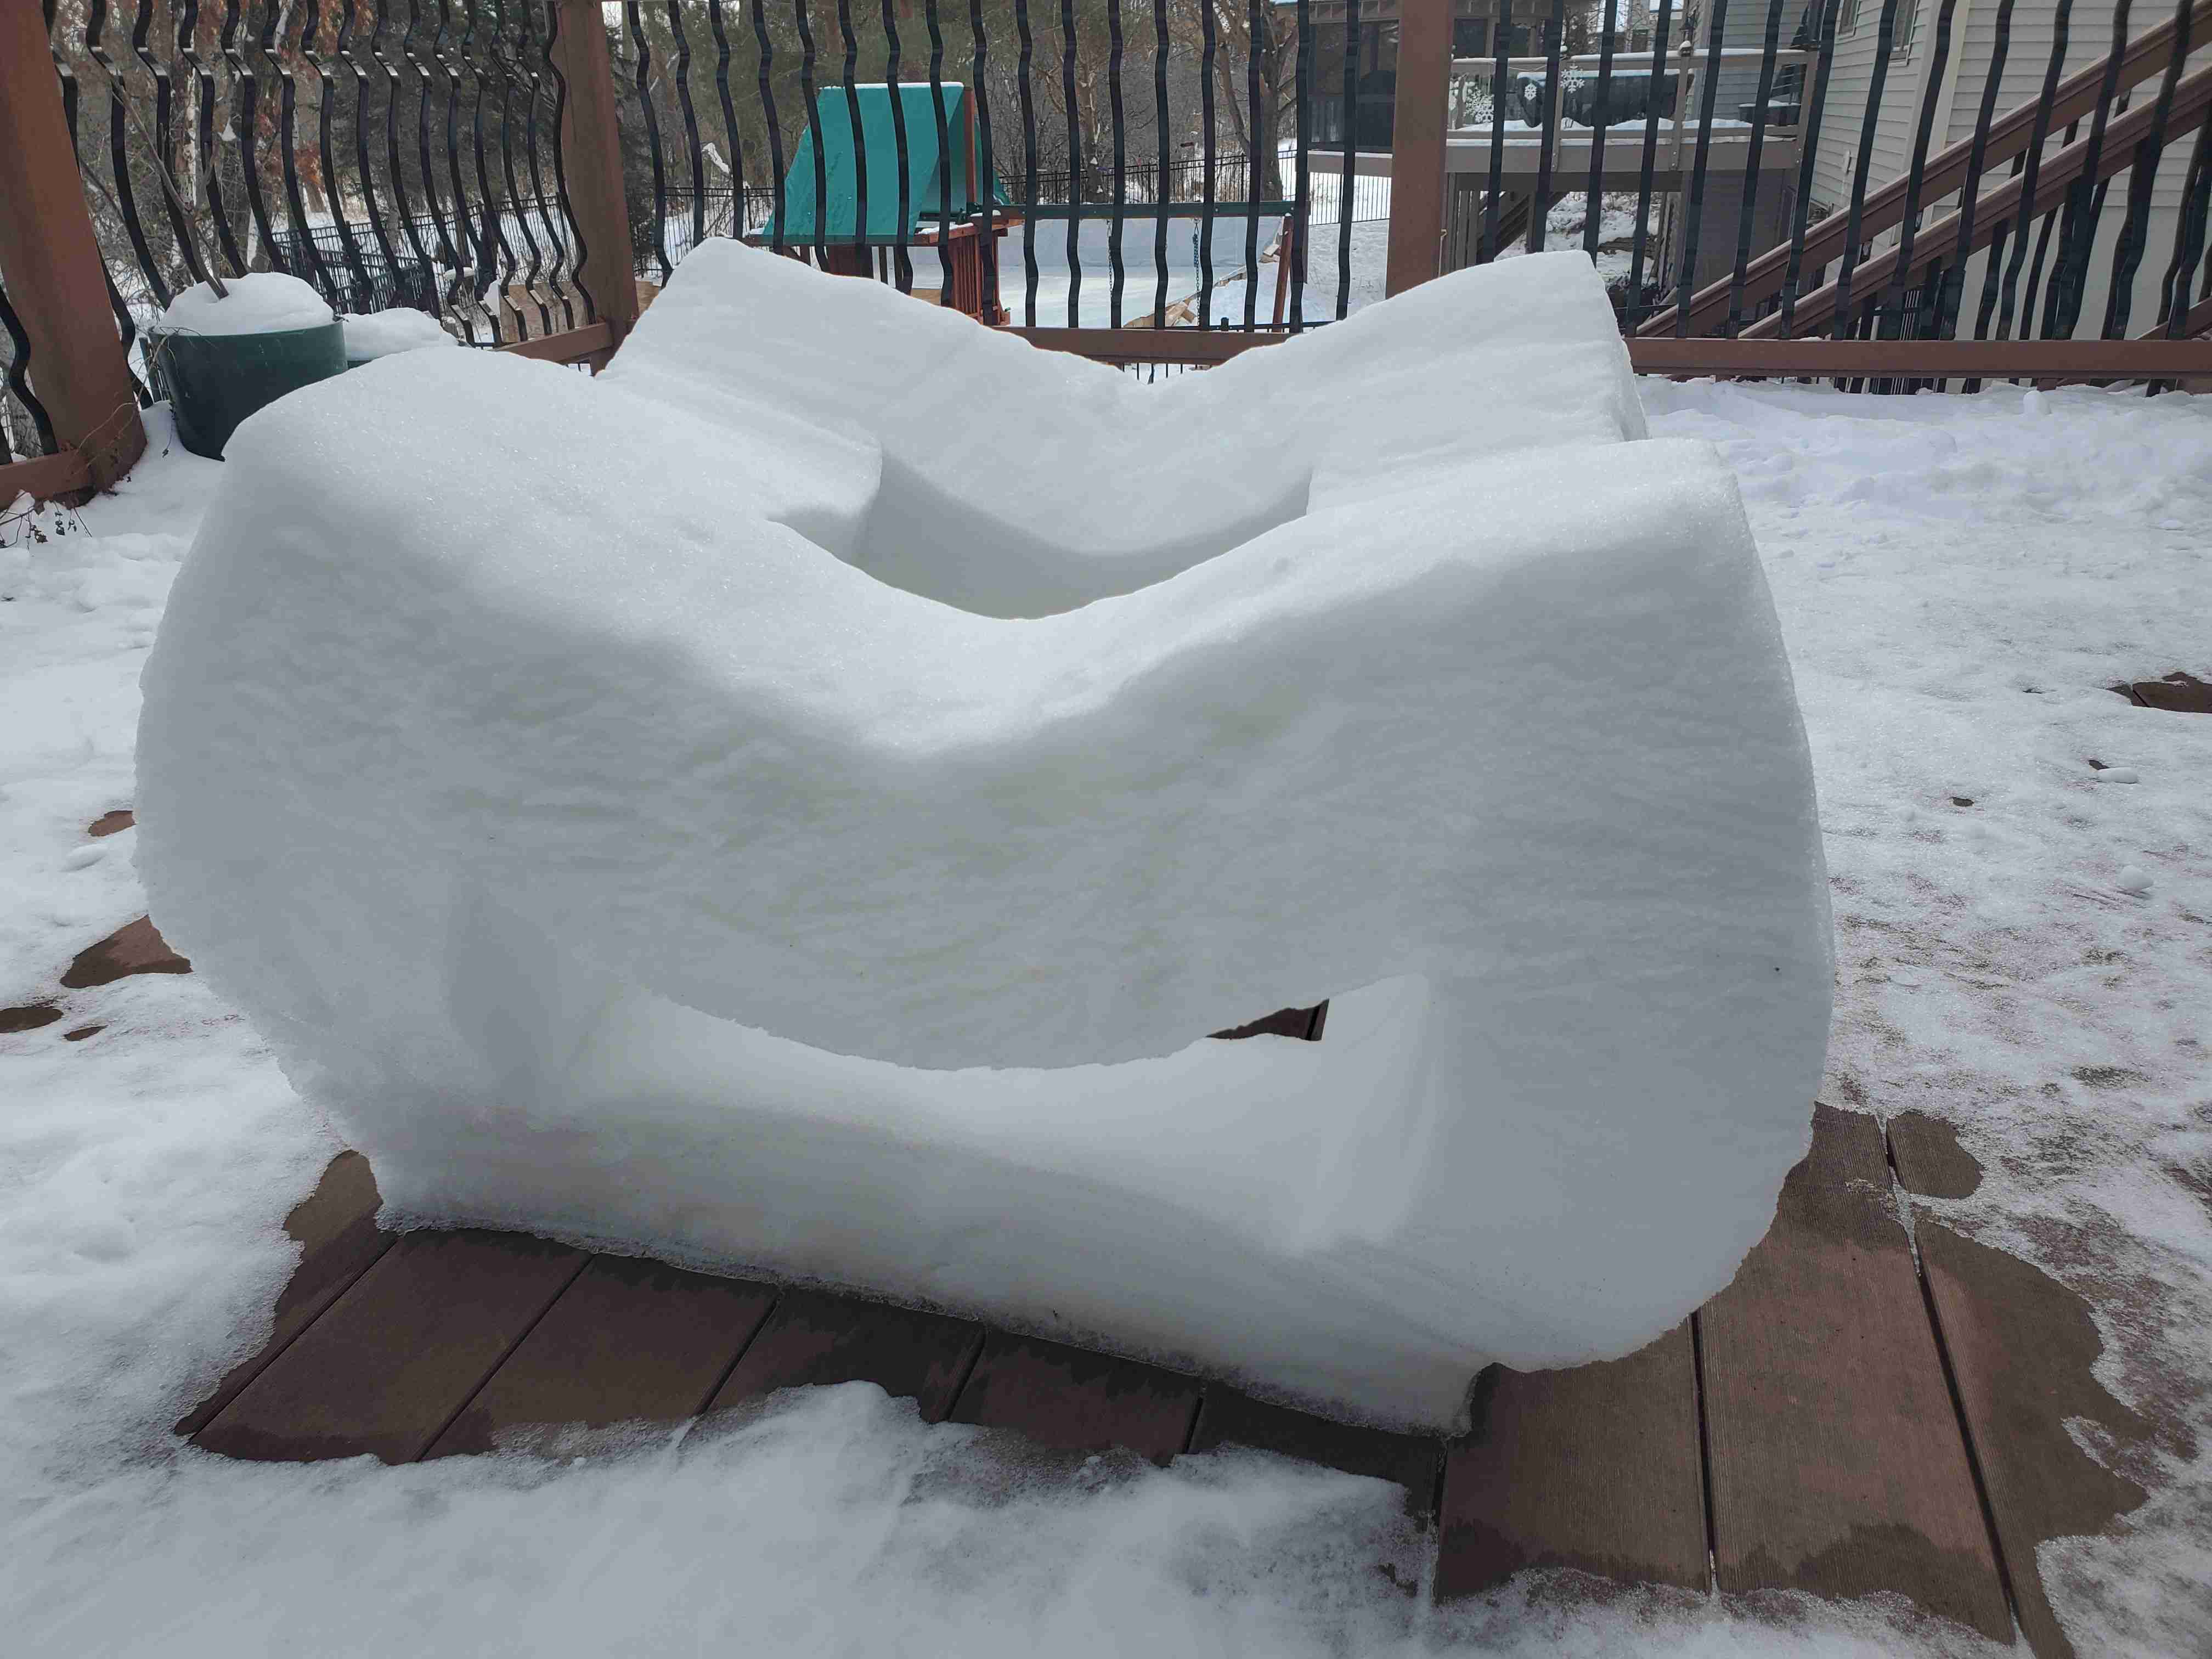
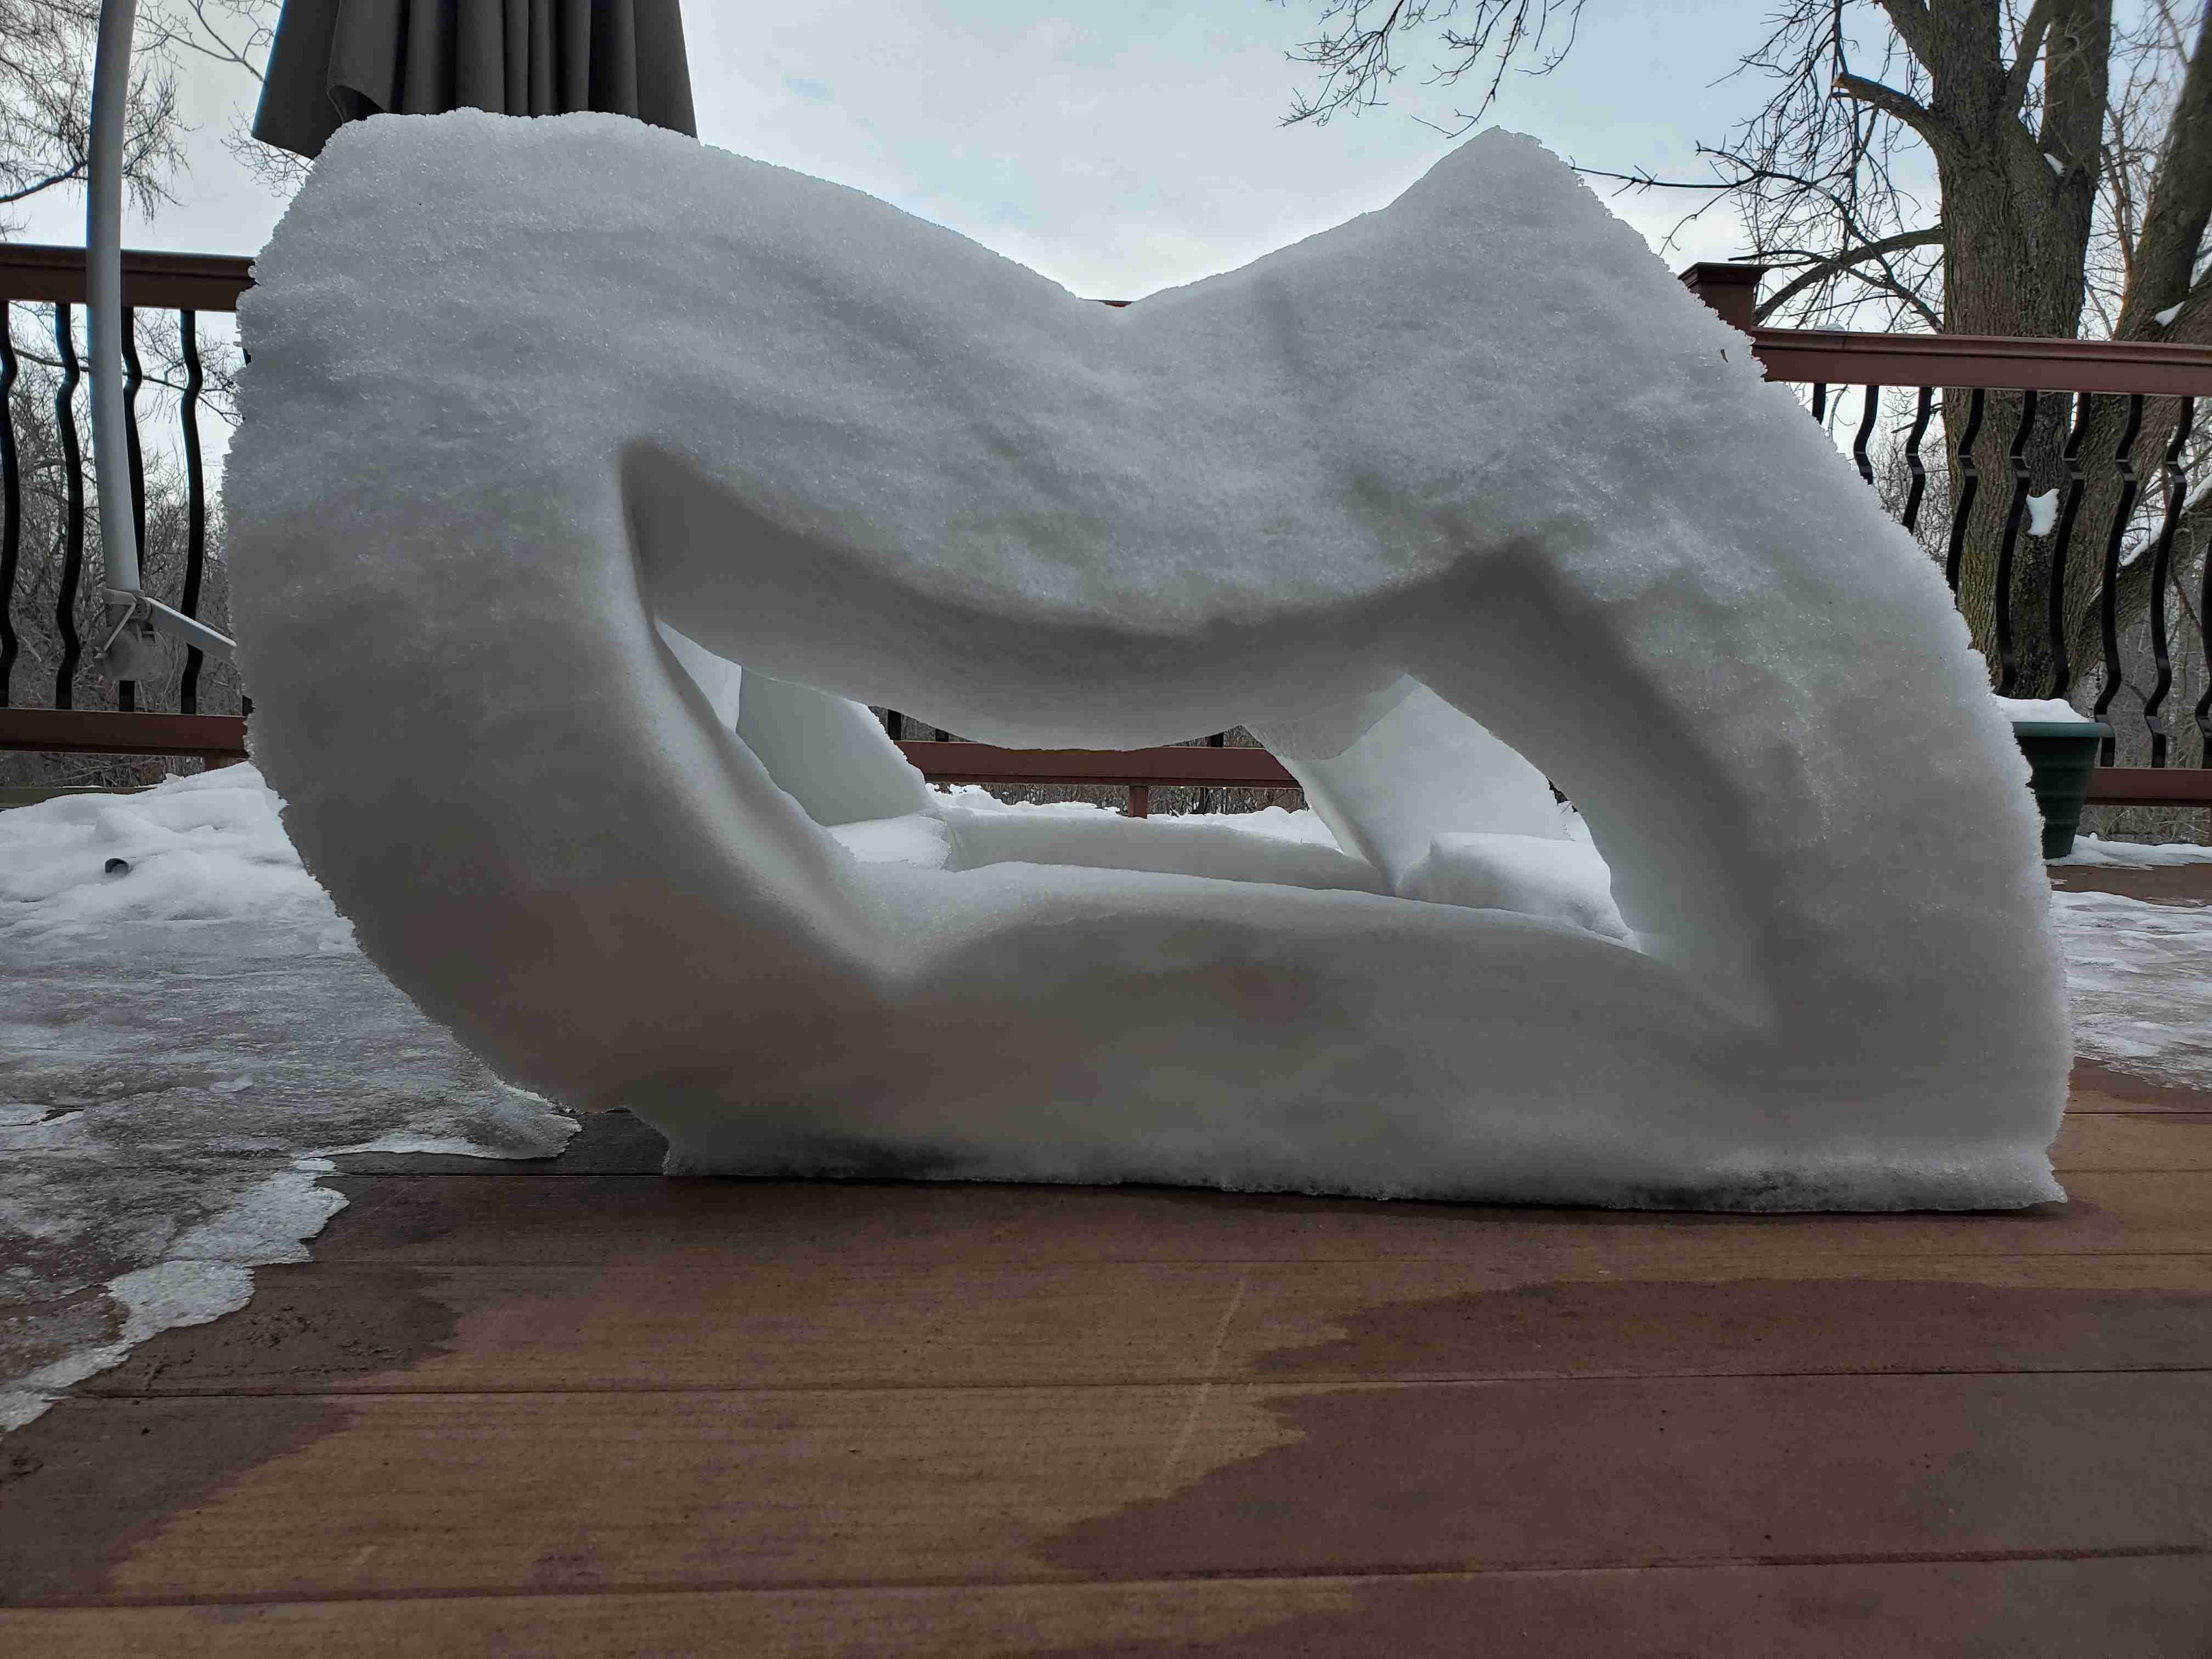
The next morning, I was looking back at the snow cube and noticed that some of the sides seemed slightly rounded. My first thought was that I must have been imprecise in my original construction, and I wondered if I should correct it. Another day later, the sides were even rounder, and I realized that the cube was actually starting to sag. Every subsequent day, I watched the progression, waiting for the sides to go from bent to broken. To my shock, the cube just sagged and sagged and sagged until the top edges gently came to rest against the ground.

I ended up going out of town for a couple months to crash with friends starting mid February, so I never ended up using the igloo bricks, which all melted by the time I returned. I still think the hollow cube was worth it.